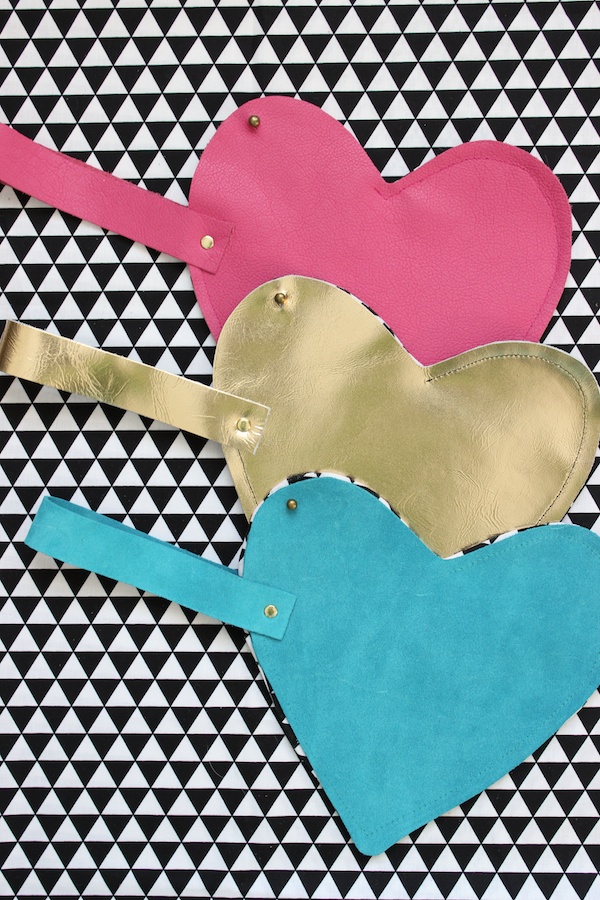
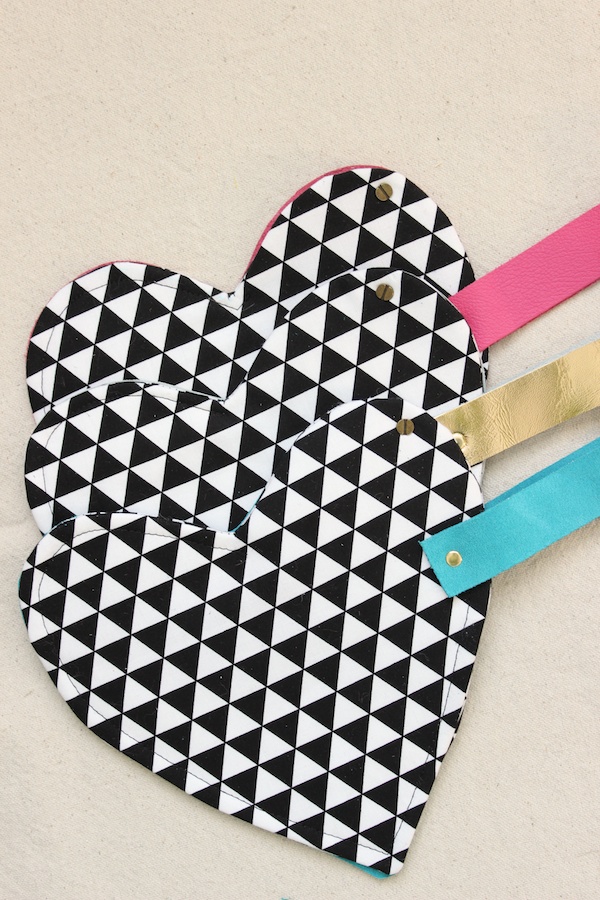
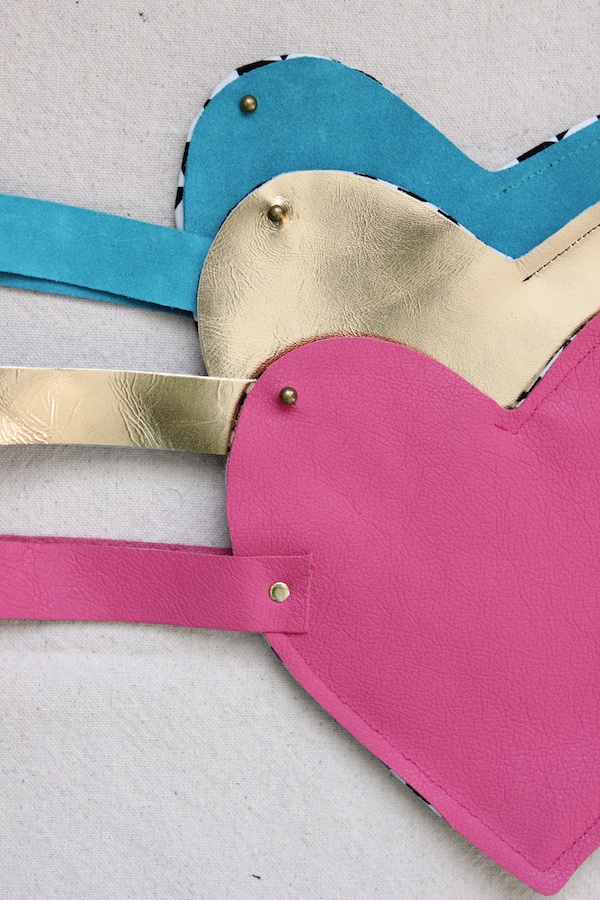
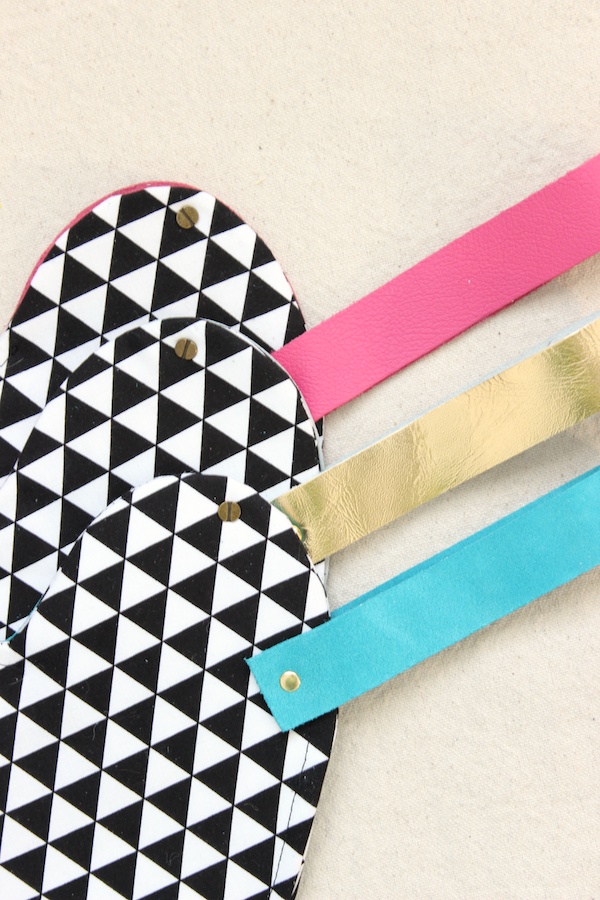
I'm pretty excited about today's project -- and not just because it combines my insatiable love for hearts + leather + graphic black/white patterns! These little heart wristlet clutches were a fun collaboration with Nashville-based surface designer Kelle Boyd of Anne Kelle Designs. She had the vision (and the lovely fabric, of course), and I had the tools. What's even better about this collaboration is that I'm offering up the how-to and Kelle's giving away one of the clutches! Read on for the tutorial, and visit Kelle's blog for the giveaway!
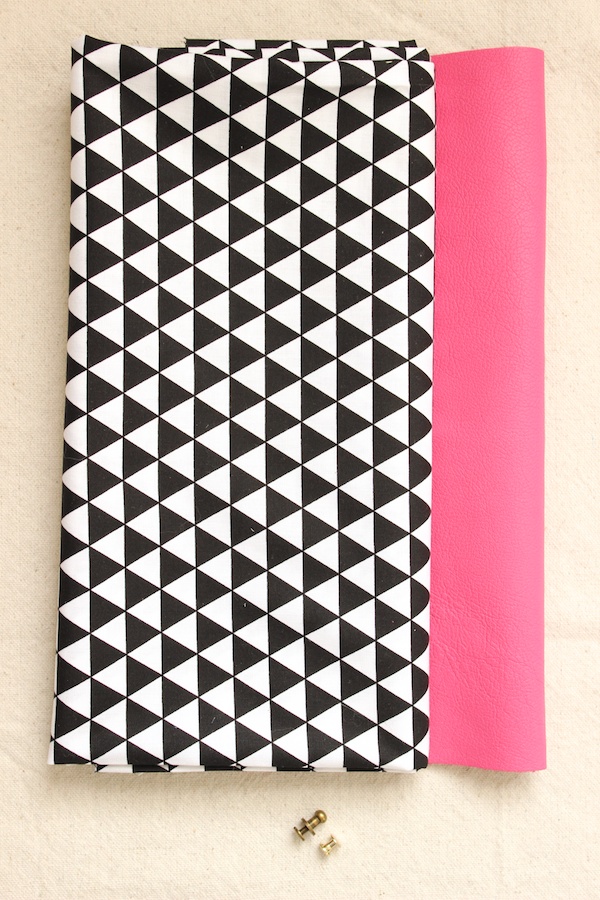
Materials: fabric, heavy interfacing, leather*, thread, button stud closure**, rivet***
Tools: scissors, sewing pins, sewing machine, iron, pen, hole punch, rivet-setter***, hammer, craft/utility knife
*I'd recommend a scrap of leather at least 12" x 12". A few great places for this type of leather are Etsy sellers Peggy Sue Also and Oneway52 and Leather Hide Store.
**I order all my button stud closures from this shop.
***Don't be scared of rivets. This post will tell you all you need to know!
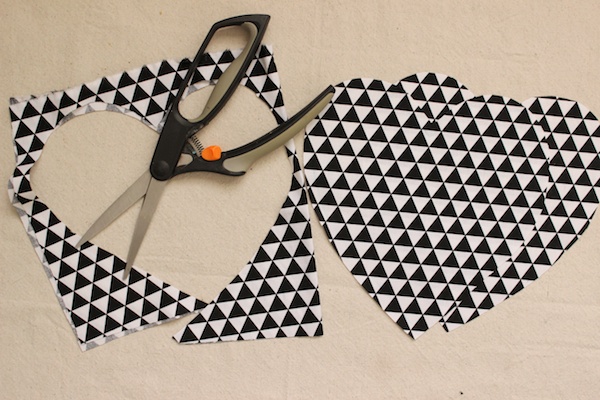
Cut out two identical fabric hearts -- each about 8" wide by 9" tall. For extra stability, cut one out of heavy interfacing as well.
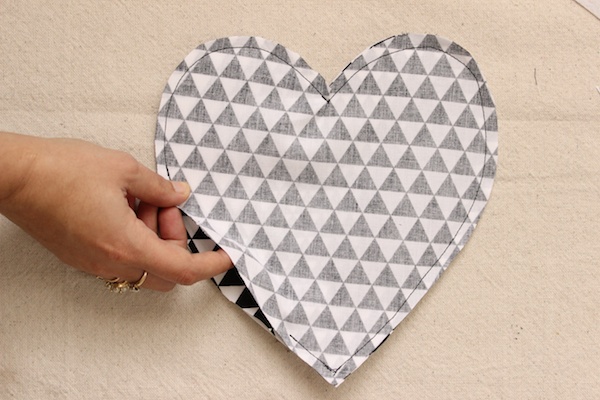
With right sides facing, sew the two fabric hearts (and the heavy interfacing) together leaving a gap about 3" long on one of the straight edges.
Carefully clip the seam allowances on the curved edges and trim the seam allowances around the sharp corners to make sure all those curves and corners are crisp and lovely. Turn right side out, and press. Also press the edges of the unsewn edges in.
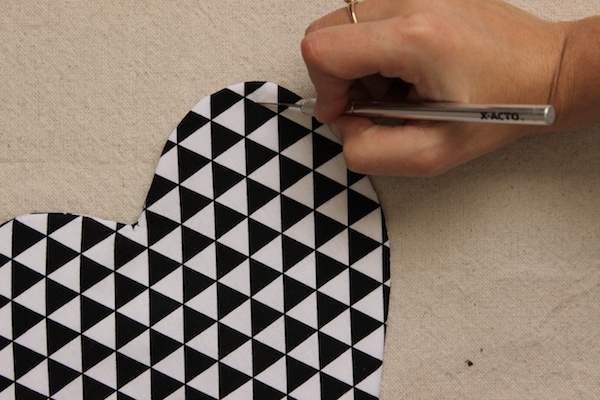
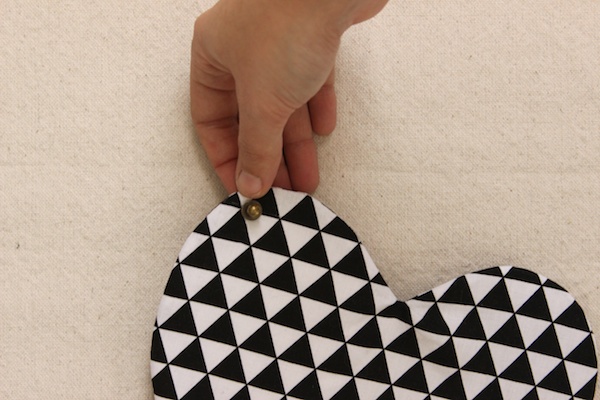
About halfway through one of the humps, mark a location for the button stud closure. Punch a small hole with a hole punch or cut a small slit with a craft knife.
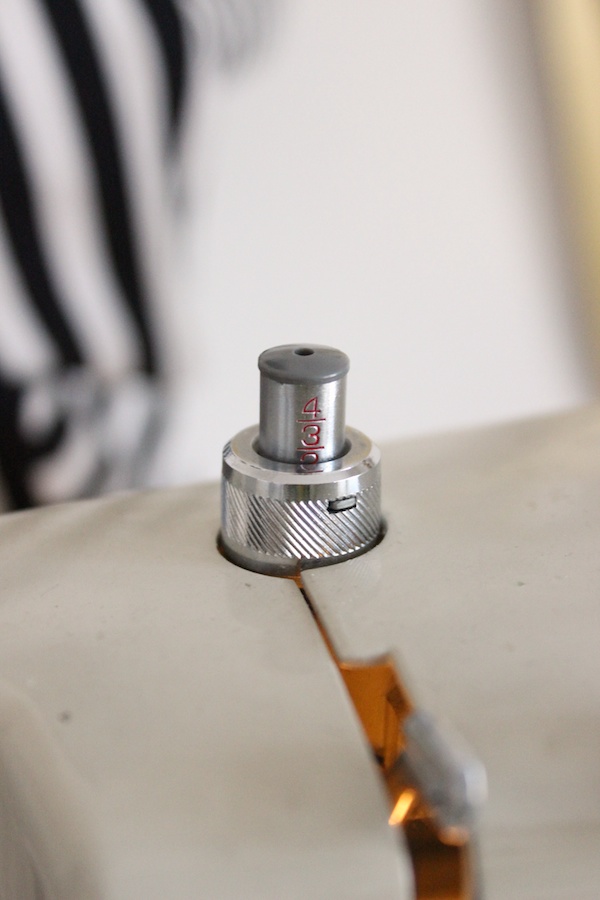
Screw on the button stud closure.
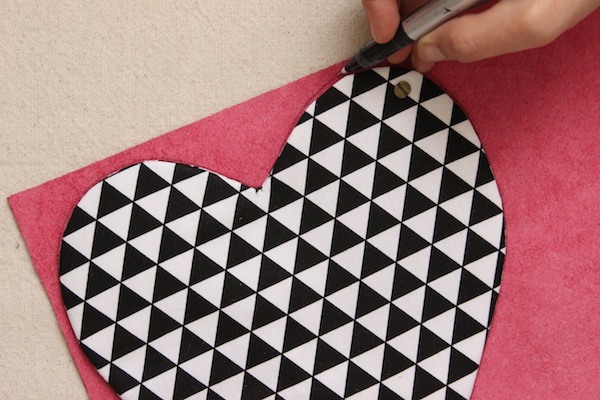
Trace the finished fabric heart onto the back of your leather.
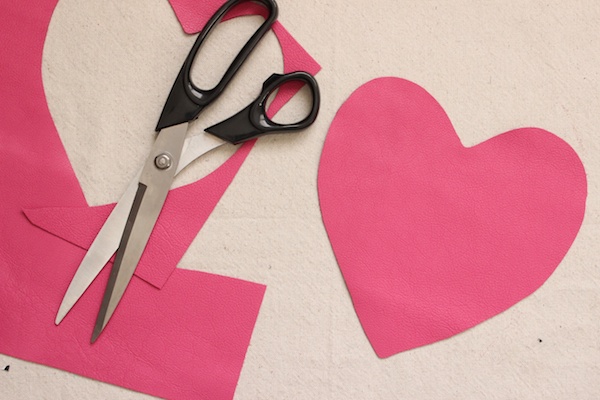
Carefully cut out the leather heart. Reserve some of the leather for the wrist strap.
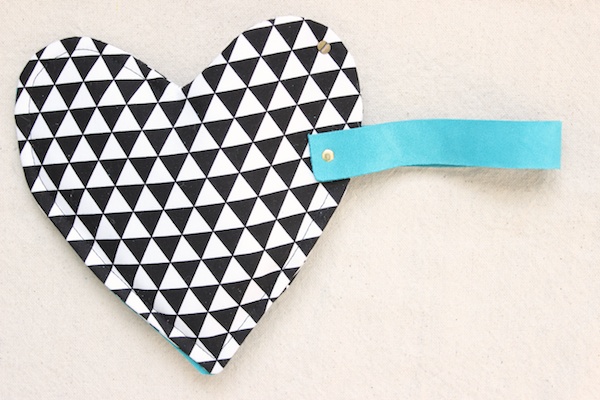
With right sides out, topstitch the leather heart to the fabric heart. Leave the hump with the button stud closure completely open. Backstitch a couple of stitches a couple of times for good measure on either side of the opening where your stitch begins and ends. If you're having trouble getting the tension right when you sew leather, check your presser foot pressure. A lighter pressure helped me get my tension right. Another tip: hide any mistakes by using a bobbin thread color in the same color as your leather.
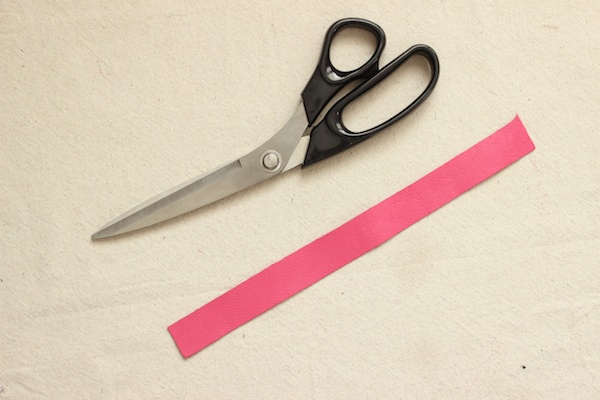
Cut out a strip of leather 12" long by 1" wide for the wrist strap.
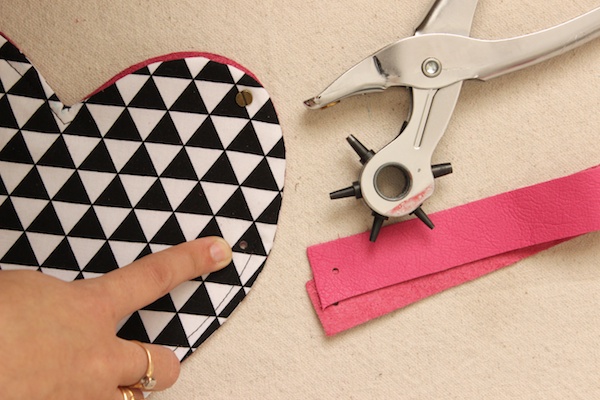
In each end of the leather strap and just below the clutch's opening, punch a small hole about 1/2" from the edge just large enough for a rivet.
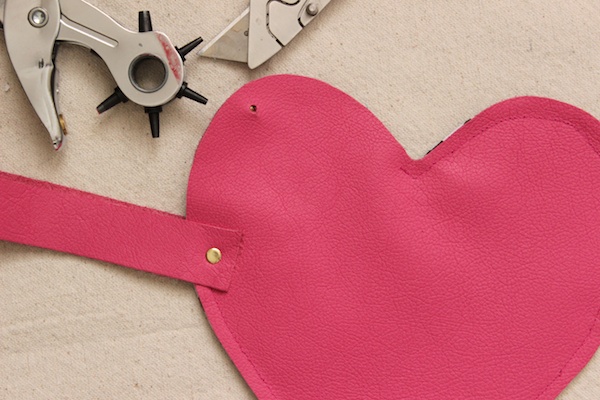
Set the rivet using a rivet setter, a hammer, and my detailed instructions here. Don't be intimidated. It's super easy. To finish it up, punch a hole in the leather just opposite the button stud closure, and cut a small slit at the bottom of the hole.
Now enjoy the cutest handiwork that there ever was!
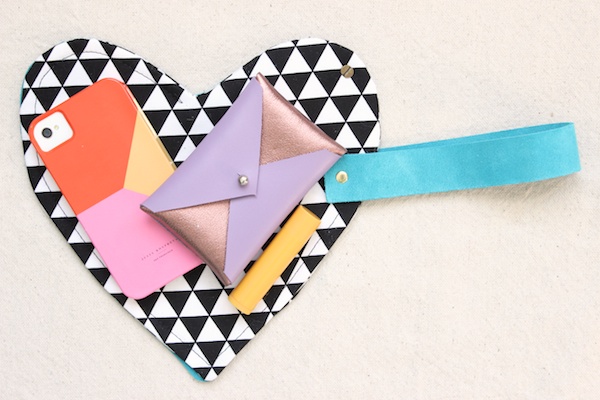
If you're thinking that there's no way these little cuties can actually fit all your evenings' necessities (as I feared when I was finishing them up), they can! I got my iPhone, a small wallet, and lip balm all comfortably in there.



No comments:
Post a Comment
Note: Only a member of this blog may post a comment.