I'm loving embroidered projects lately. That's probably for a couple of reasons. First. embroidery is a nice, portable craft -- something I appreciated while I was home in Tennessee. And secondly, I'm feeling decidedly nostalgic these days. My grandmother embroidered and taught me how to do it, so I think of her every time I do a French knot. Anyway, all of this has culminated in a whole week of embroidery projects.
So...let's embroider some shit, shall we?
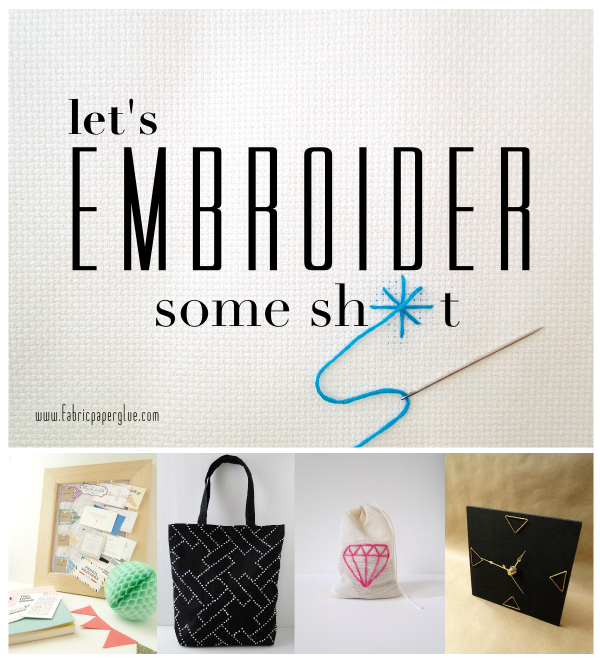
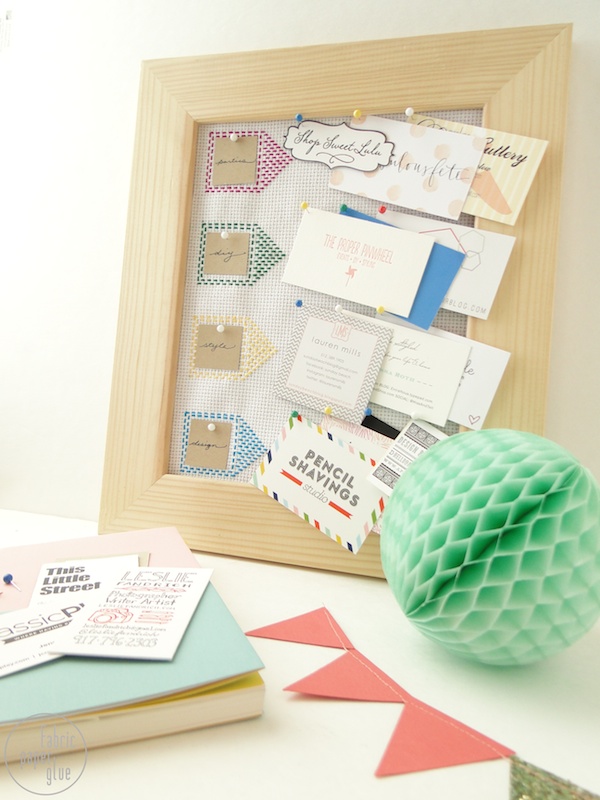
Today, let's make an embroidered pin board.
Read on for the full step-by-step.
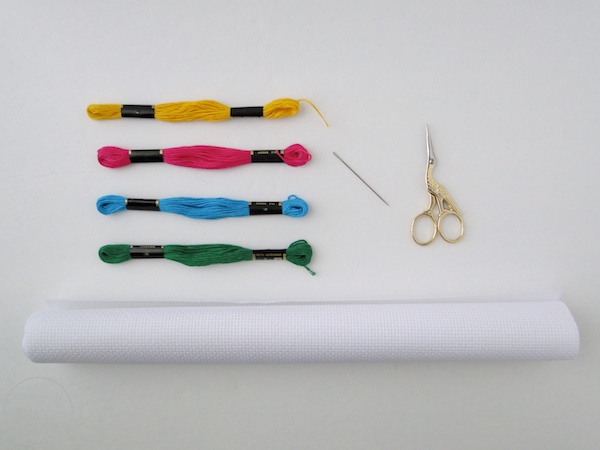
MATERIALS: Embroidery Thread, Embroidery Needle, 11-Count Cross-stitch Fabric, 12" x 12" Cork Tile, 8" x 10" Photo Frame, Stapler
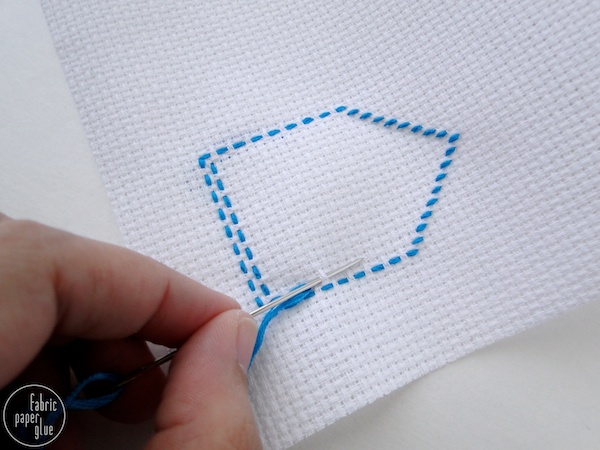
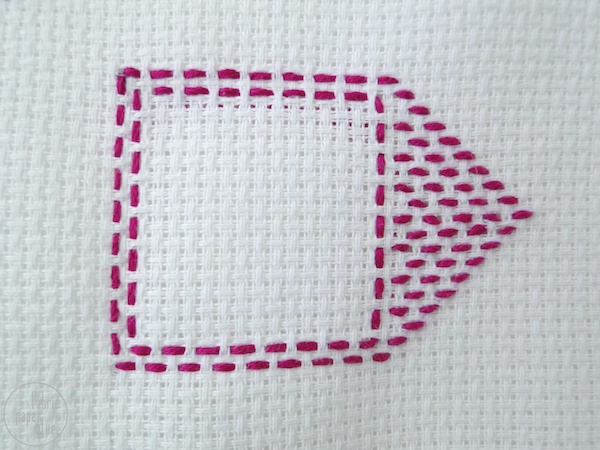
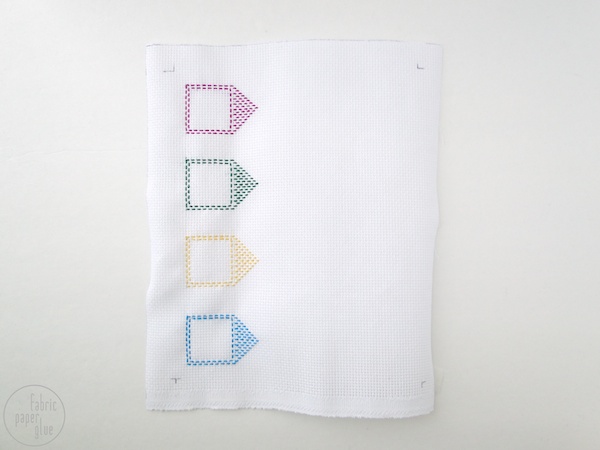
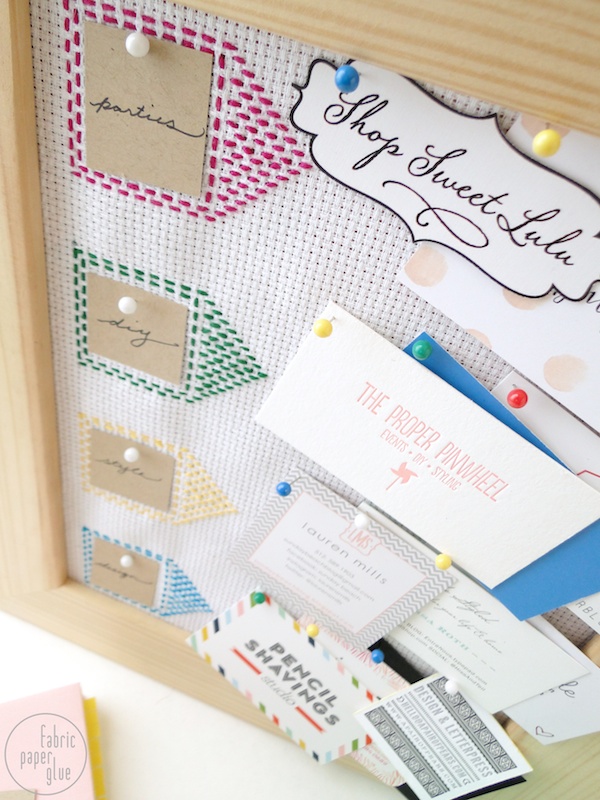
ONE: Cut the cross-stitch fabric to 10" x 12". Beginning 1.5" from the left edge and 1.5" from the top edge, embroider 4 evenly-spaced arrow boxes. Each of my arrow boxes are 18 counts tall by 27 counts wide (see the close-up).
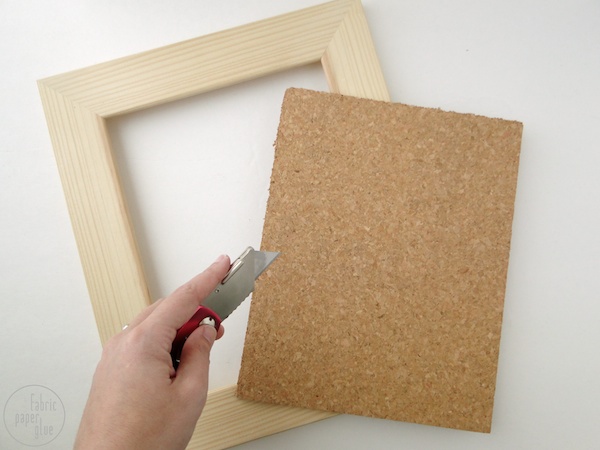
TWO: Cut the cork tile down to 8" x 10".
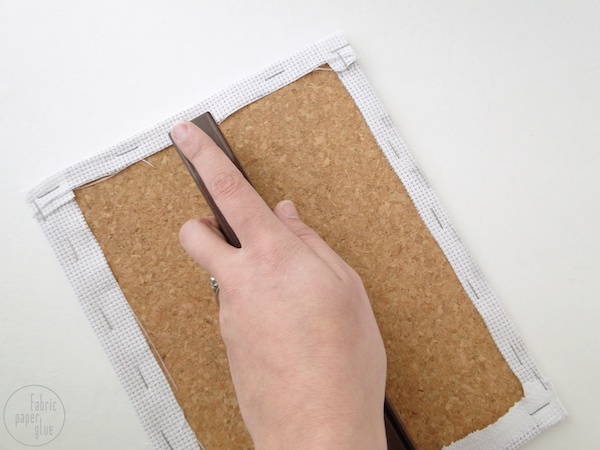
THREE: Wrap the cross-stitch fabric around the frame, and staple into place.
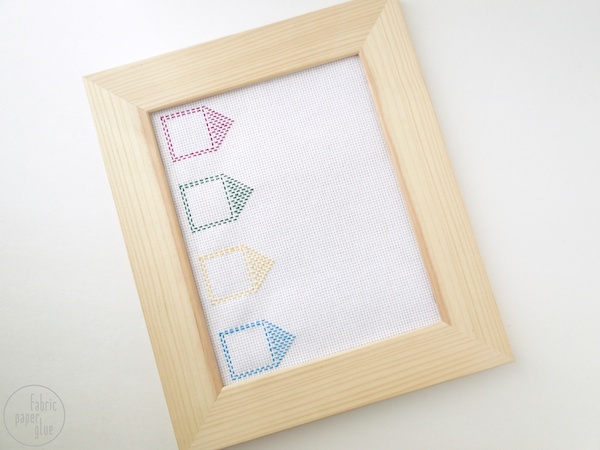
FOUR: Put your fabric-wrapped cork tile into the frame. Use the little boxes to create categories for your business cards, magazine pics, post-its -- whatever you want to pin and organize!
I'm using mine to organize and display some of the pretty business cards I got at Alt Summit. What will you do with yours?
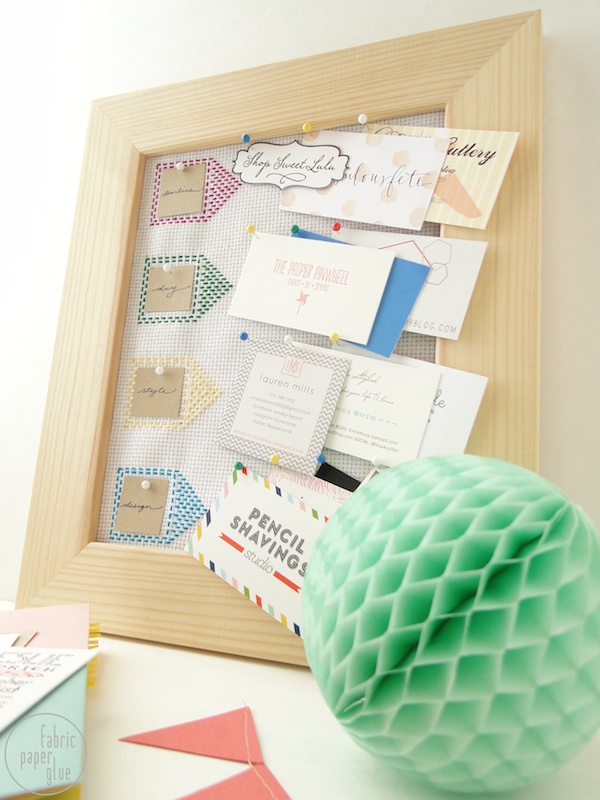
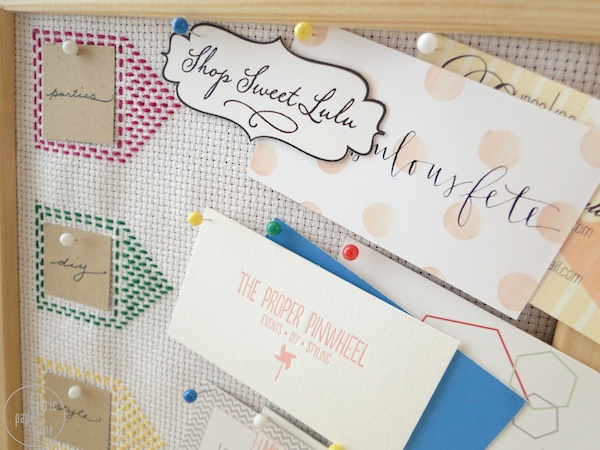
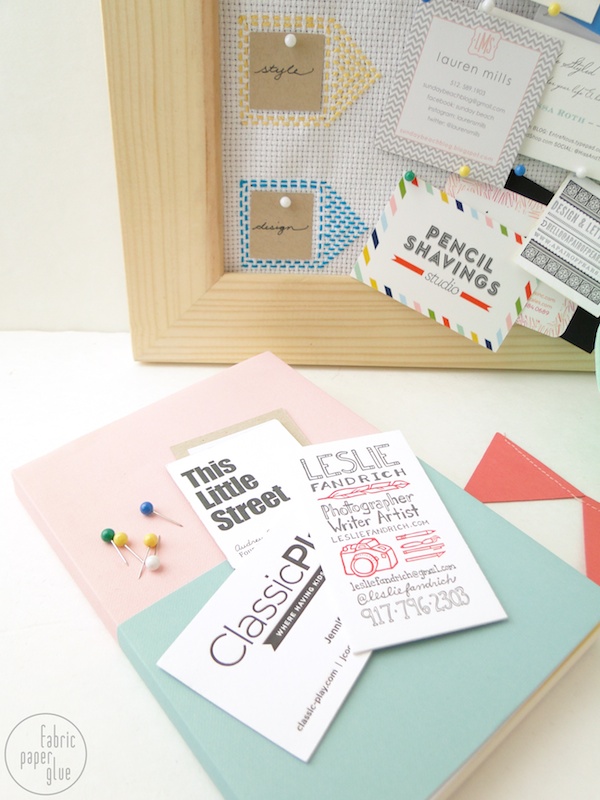
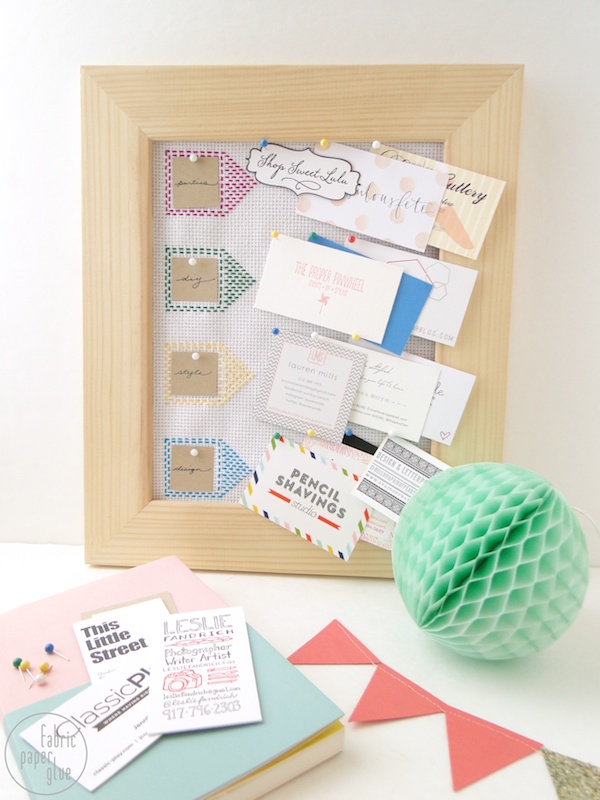
Featured cards include:
Shop Sweet Lulu
A Fabulous Fete
Cupcakes & Cutlery
The Proper Pinwheel
Studio DIY
Ardor
Sunday Beach
Pencil Shavings Studio
This Little Street
Classic Play
Leslie Fandrich
So...let's embroider some shit, shall we?

Today, let's make an embroidered pin board.

Read on for the full step-by-step.

MATERIALS: Embroidery Thread, Embroidery Needle, 11-Count Cross-stitch Fabric, 12" x 12" Cork Tile, 8" x 10" Photo Frame, Stapler


ONE: Cut the cross-stitch fabric to 10" x 12". Beginning 1.5" from the left edge and 1.5" from the top edge, embroider 4 evenly-spaced arrow boxes. Each of my arrow boxes are 18 counts tall by 27 counts wide (see the close-up).

TWO: Cut the cork tile down to 8" x 10".

THREE: Wrap the cross-stitch fabric around the frame, and staple into place.

FOUR: Put your fabric-wrapped cork tile into the frame. Use the little boxes to create categories for your business cards, magazine pics, post-its -- whatever you want to pin and organize!
I'm using mine to organize and display some of the pretty business cards I got at Alt Summit. What will you do with yours?


Featured cards include:
Shop Sweet Lulu
A Fabulous Fete
Cupcakes & Cutlery
The Proper Pinwheel
Studio DIY
Ardor
Sunday Beach
Pencil Shavings Studio
This Little Street
Classic Play
Leslie Fandrich


Super cute project, and I love how you used it to display your Alt business cards!
ReplyDelete