

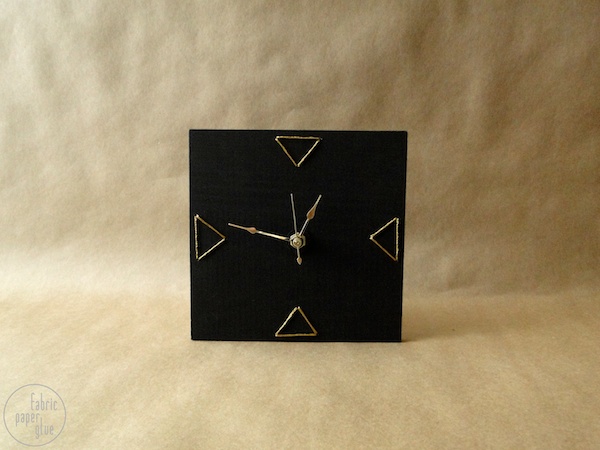
All this week, we've been embroidering the shit outta some shit. We've embroidered a pin board, a tote bag, and a jewelry pouch. Today, shit's gettin' real, and we're embroidering some wood to make a clock.
Read on for the full tutorial.
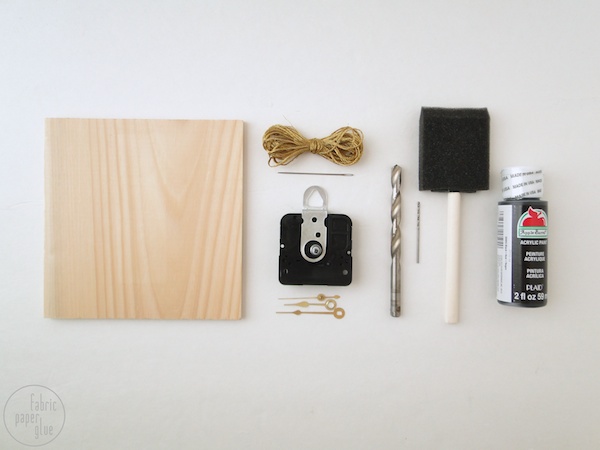
MATERIALS: Wooden Craft Square, Electric Drill, 1/16" and 5/16" Drill Bits, Craft Paint, Sponge Brush, Gold Embroidery Thread, Embroidery Needle, Clock Kit
I picked up my wooden square at the craft store. It's about 5" x 5" x 1/4". You'll want to make sure that your clock kit is designed specifically for the thickness of wood you've chosen. For example, my clock kit is made for thicknesses of 1/4".
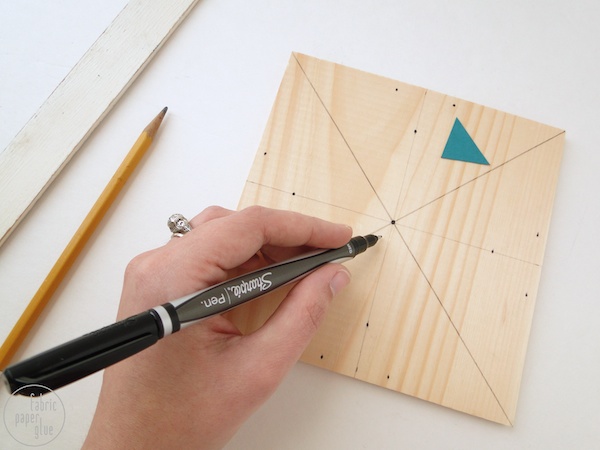
ONE: Begin by marking where all your holes will be -- including one big one for the clock kit and a series of smaller ones for the embroidery. Draw lines from corner to corner to find and mark the middle point. For the embroidery holes, make a little template from a triangle of paper about 3/4" tall and 1-1/4" wide. Center it about 1/8" from each edge and mark off the points.
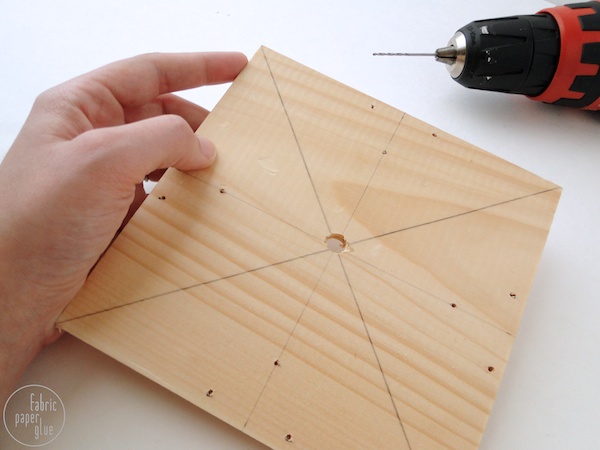
TWO: Use the 5/16" drill bit to drill one large hole in the middle. Use the smaller 1/16" drill bit for the smaller embroidery holes. Sand down any rough edges, if you like.
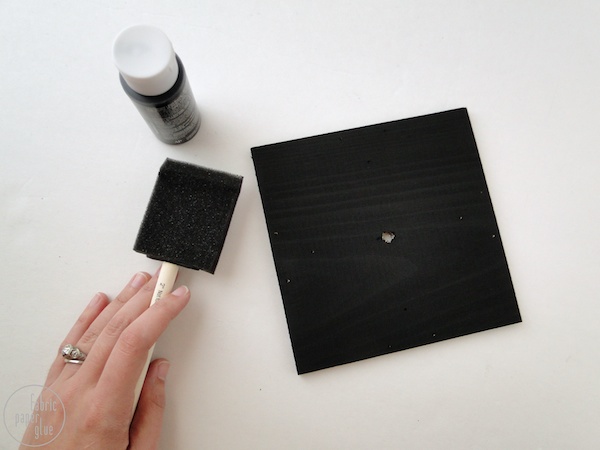
THREE: Give the whole thing a coat or two of craft paint.
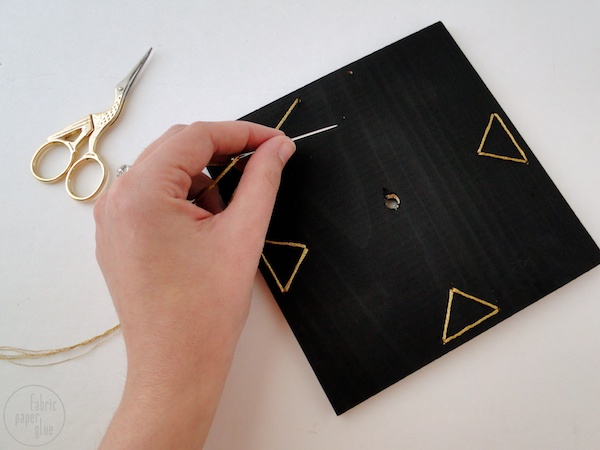
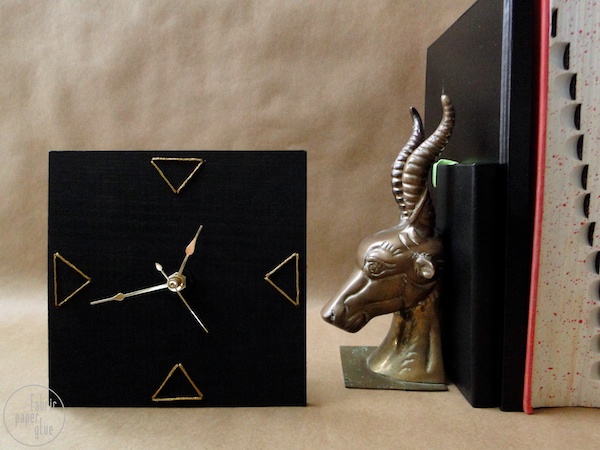
FOUR: Using your drilled holes, embroider a triangle for each of the 12, 3, 6, and 9 o'clock hours. Just tie the stitches off on the back and trim.
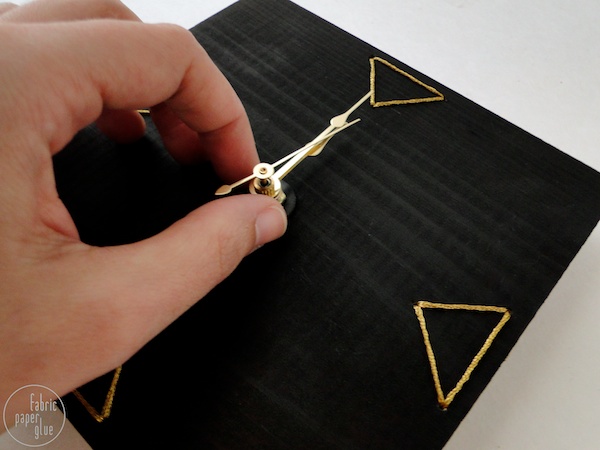
FIVE: Finish it up by installing the clock kit according to the accompanying directions.
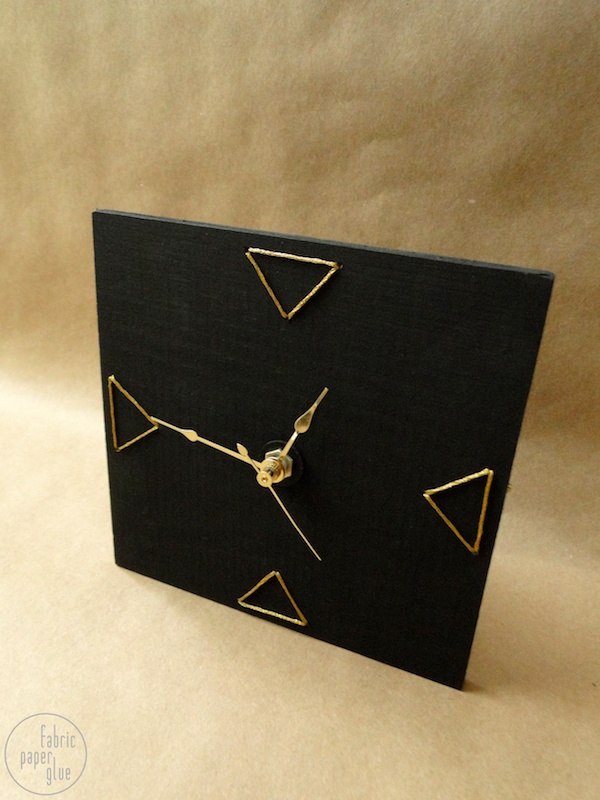
I really loved how this clock turned out. Both wood and embroidery are such traditional materials and skills, yet this project turned out decidedly modern. And there are so many ways that this could be customized. I love it!

find me elsewhere
I love seeing how you're running with the embroidery theme, and this clock might be my favorite!
ReplyDeleteLove it!
ReplyDeleteI love this series, and the clock is such a creative idea! So fun!
ReplyDeleteEmbroidered wood....I dig it!
ReplyDelete