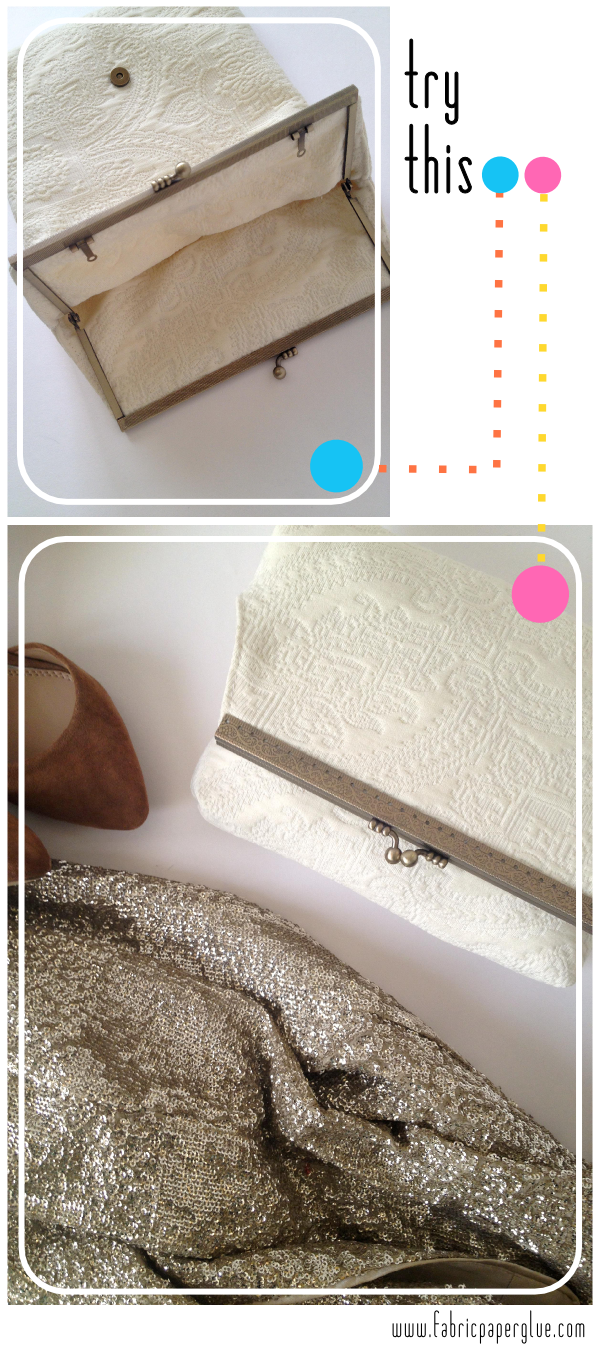
Try This: Fold-Over Framed Clutch
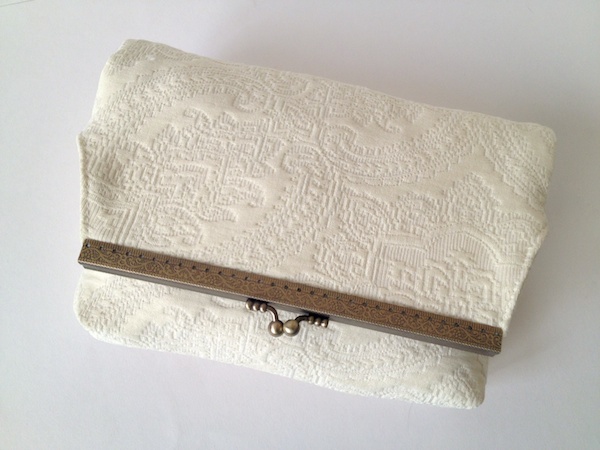
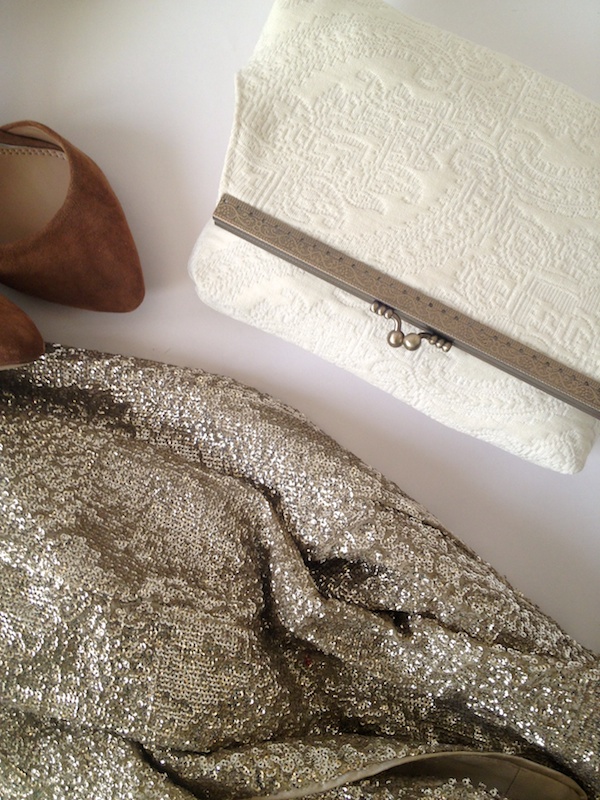
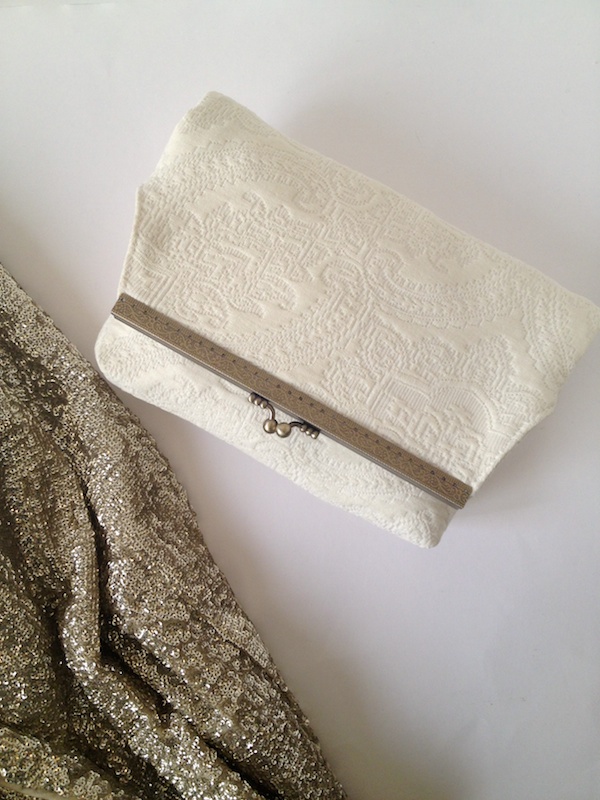
Mark this down as yet another project inspired by a gold and glittery outfit for Alt. This time, a gold sequined blazer, which calls for a decidedly more subdued handbag. I thought a nice winter white clutch would be the perfect pairing.
Read on for the full tutorial.
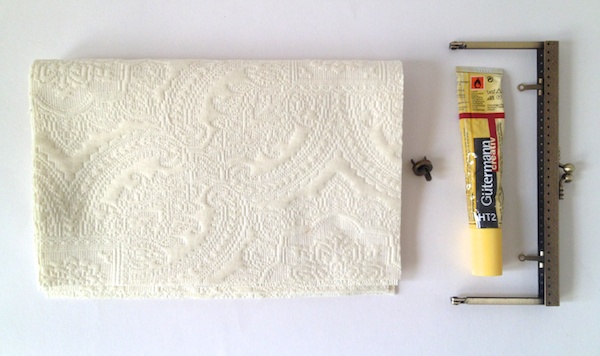
Materials: 1/4 yard of Heavyweight Fabric*, Top Channel Purse Frame**, Magnetic Snap, Fabric Glue
*I found this gorgeous, almost tapestry-like Waverly upholstery-weight fabric from JoAnn (similar here). I decided to use the same fabric for both my shell and lining. If you decide to use a lighter-weight fabric for your lining, you'll likely want to add in some interfacing to give the bag some additional stability. Just cut the interfacing to the same size as all other pieces, and double it up with the shell pieces for each of the steps below.
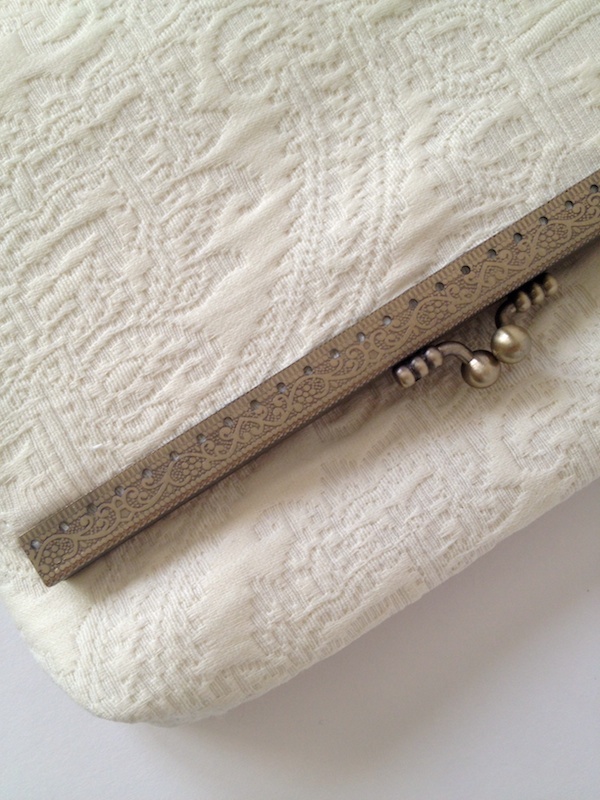
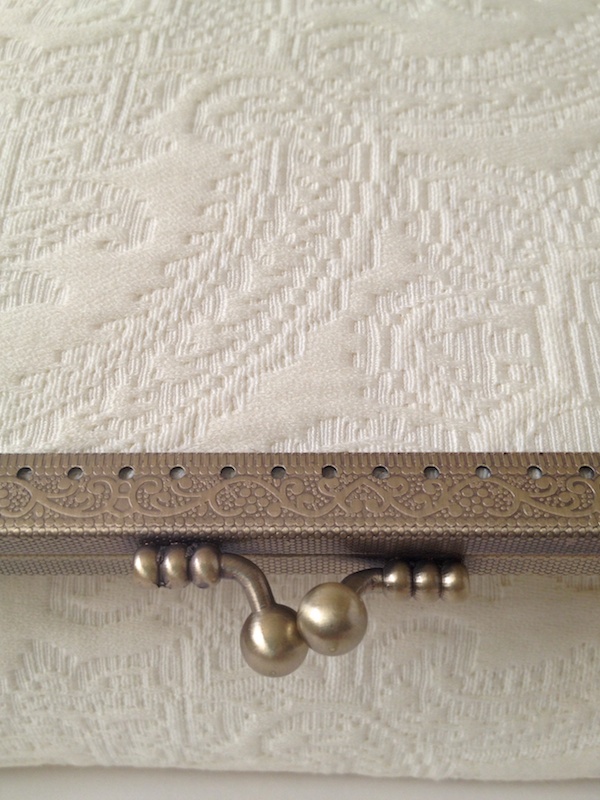
**Most purse frames you come across have side channels, but you can find similar top channel frames here, here, here, and here. I picked up my charming little frame on my recent trip to Japan.
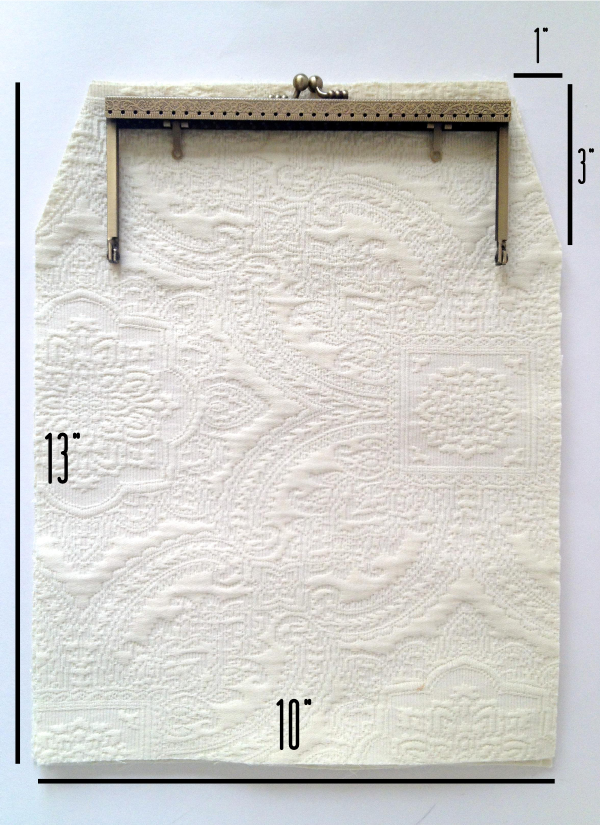
ONE: Begin by cutting 4 identical pieces -- 2 for the shell, 2 for the lining. My frame is approximately 7.5" wide, so my pieces were each 13" x 10". To determine the correct width for your fabric cuts, take the width of your purse frame and add 2.5" (e.g. a 6" frame would call for a cut of fabric 13" x 8.5"). Then, cut the top corners off at an angle with the endpoints 1" and 3" from the corner. These distances will likely also work for your frame, but adjust the 3" as appropriate for the height of your frame.
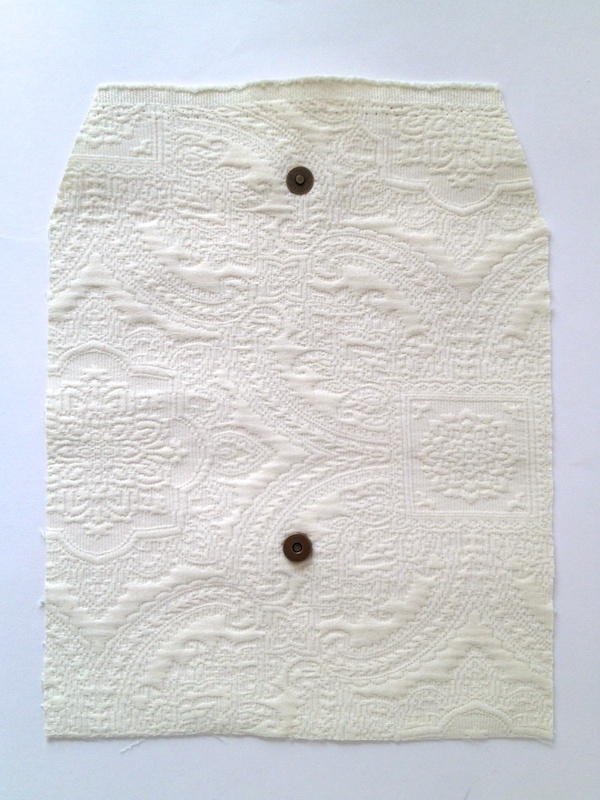
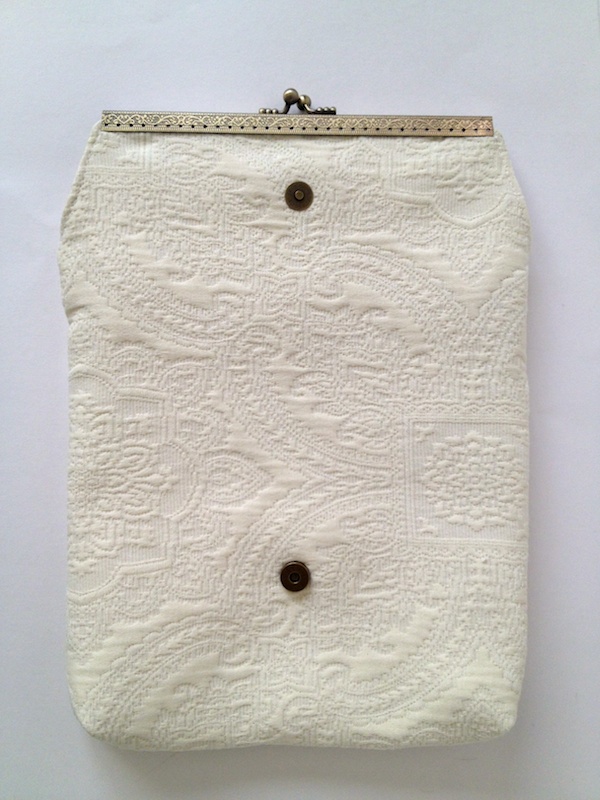
TWO: On only one cut of your shell fabric, install the magnetic snap closure. Install the male end 2" from the top center and the female end 4" from the bottom center as shown. Stabilize the back of each with a small square of heavy interfacing.
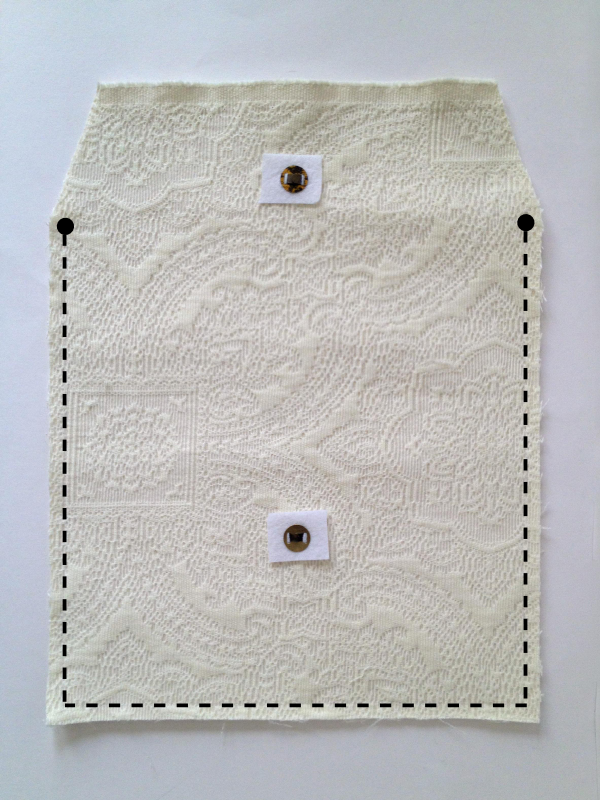
THREE: With right sides facing (i.e. magnetic snap facing inward), sew the two shell pieces together as shown. Repeat with the lining fabric, but leave a gap somewhere in your seaming about 2" long so that you can pull the bag through later.
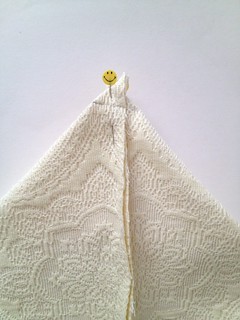
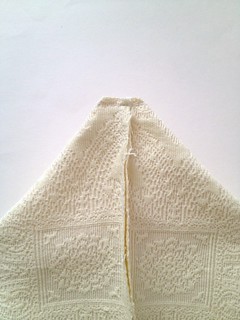
FOUR: To give the bag some fullness, box each of the bottom two corners. To do this, form a triangle by matching the side seam with the bottom seam. Pin into place, and sew perpendicular to the side/bottom seaming approximately 3/4" from the triangle tip. Trim the excess fabric. Repeat on the lining.
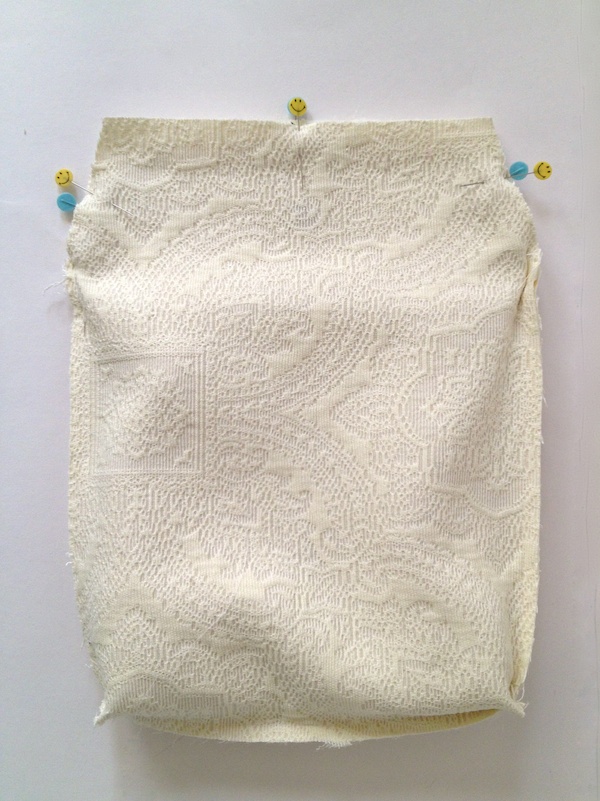
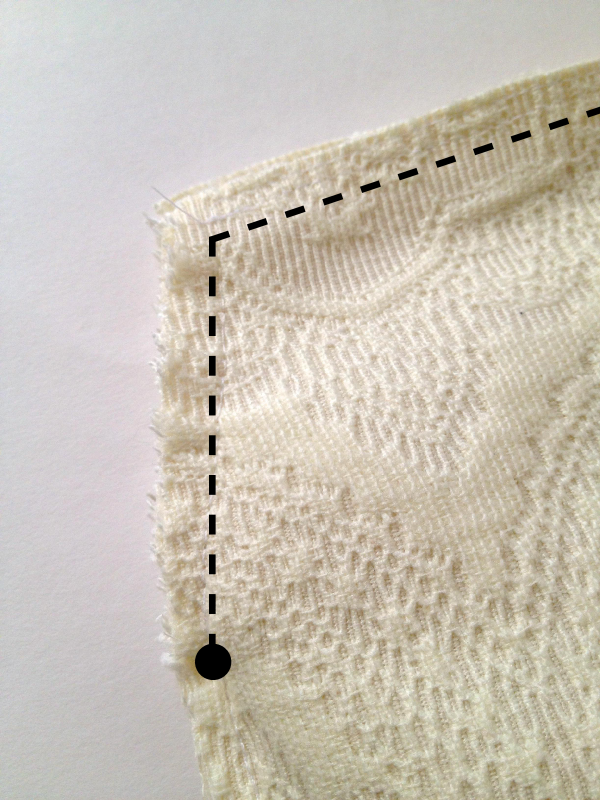
FIVE: Turn the shell right-side-out, and put it inside of the lining. Pin together along the top edges. Stitch each set of top flaps together. On each flap, you'll want to begin and end your needle precisely where you began and ended your stitches in Step Three (i.e. the black dots). This isn't unlike how you would stitch around the top edge for your standard tote bag, there are just a few more angles to contend with.
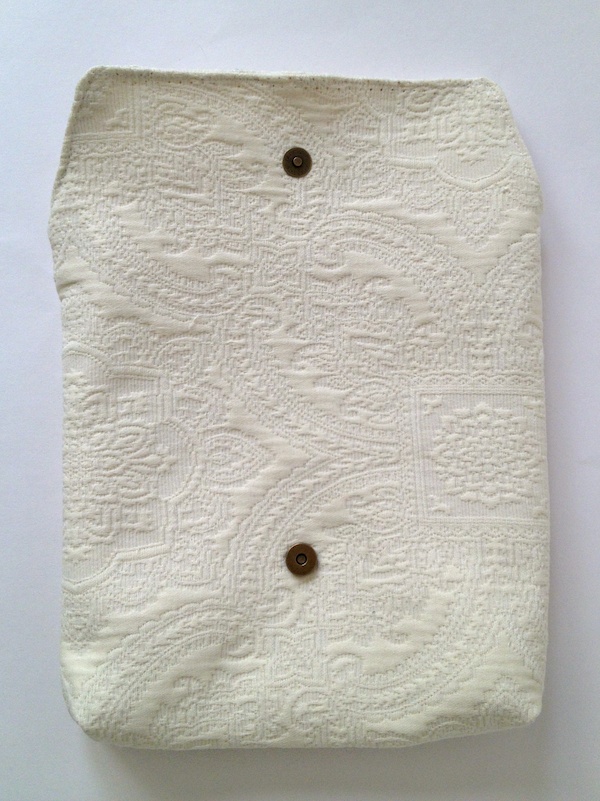
SIX: Pull the whole bag through the the hole you left in the lining. Top stitch the hole shut, and tuck the lining into the shell.
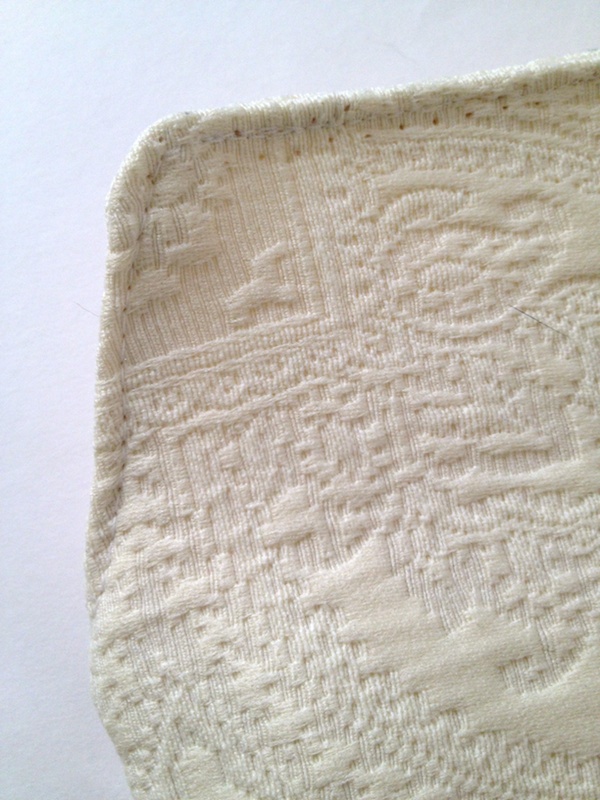
SEVEN (optional): If you have a particularly voluminous fabric, you might want to top stitch along the edge of each opening flap.
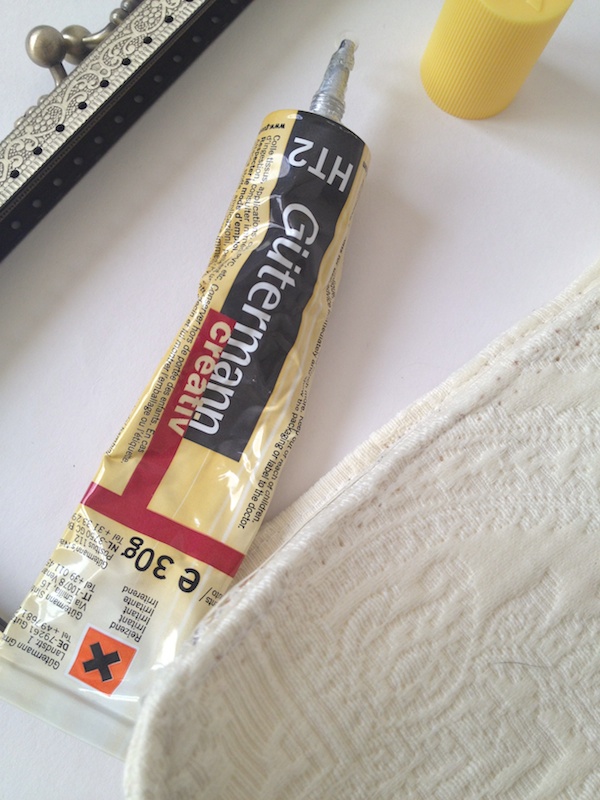
EIGHT: Apply a scant bead of glue to the inside of the frame and the edge of each opening flap. If you apply too much, it will squish out in the next step and ruin your purse. Allow to get tacky according to the directions for your particular fabric glue. I highly recommend Gutermann glue, which can be hard to find in the U.S. but is available from some Etsy sellers.
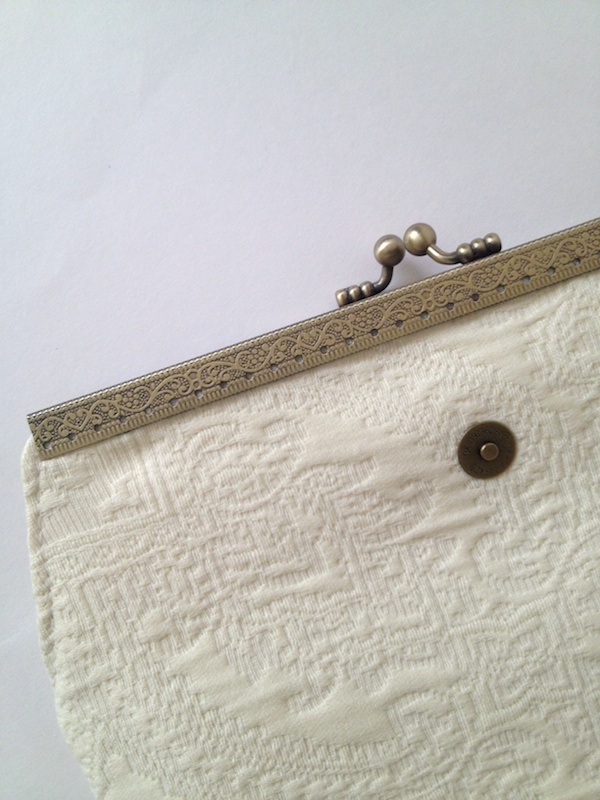
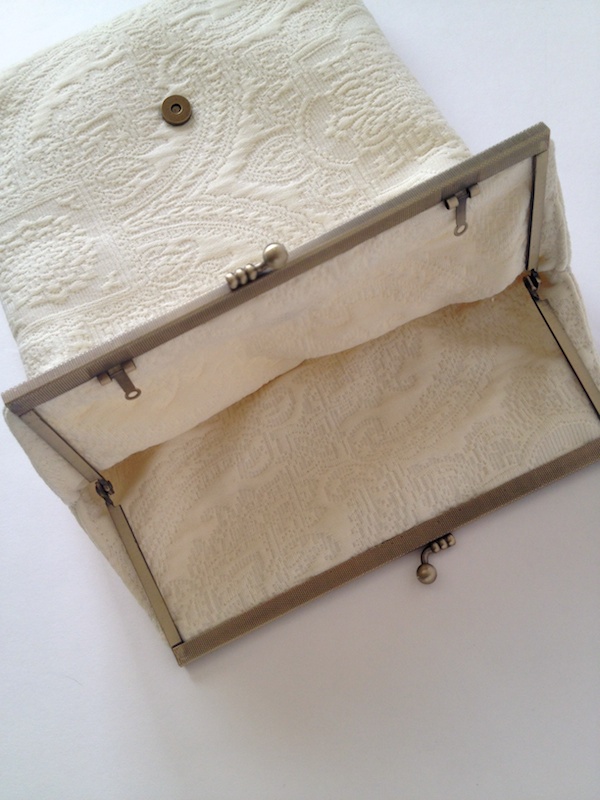
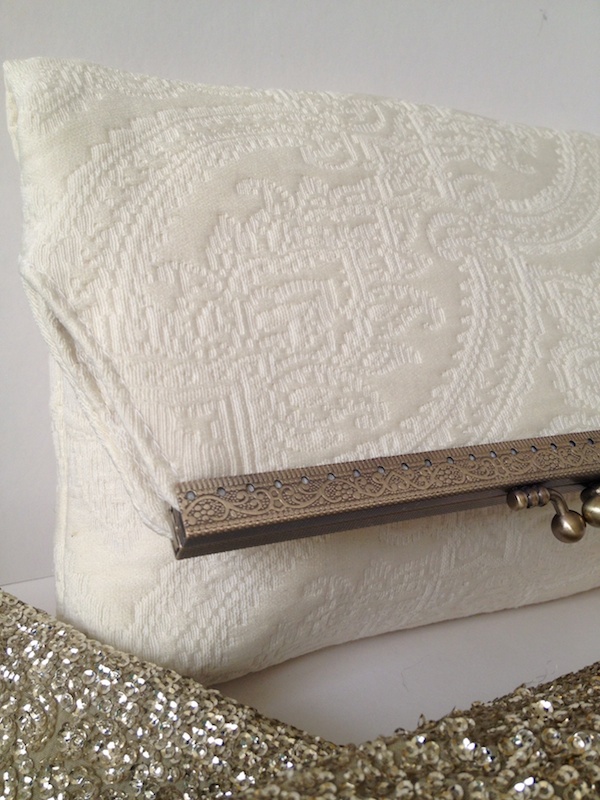
NINE: Carefully tuck the edges of the purse into the purse frame. If your fabric is particularly thick, you might want to use something like a craft knife to help you push the edges in. Give the glue a little time to set, and you're ready to go!
What do you think? A nice understated companion for an over-the-top sequined blazer?

find me elsewhere
If you've ever given one of my tutorials or cocktails a try or you've just been inspired by something you've seen here on Fabric Paper Glue, be sure to share a photo. I'd love to feature it!

Looks great!
ReplyDeleteThanks, Bethany!
DeleteMandy - stop being so awesome. HA! Love this clutch, fully plan to see you rocking it at ALT!
ReplyDeleteHaha. You are seriously too kind!
DeleteEvery time I read one of your tutorials while I'm in the office, I want to scramble home and pull out all my craft supplies. :)
ReplyDeleteAw, thanks, Heather! I am the same way about other great tutorials I see, but then by the time I get home, I'm so pooped that I can't even dream of it.
DeleteLooks so lovely! Designer Inspired Clutches
ReplyDelete