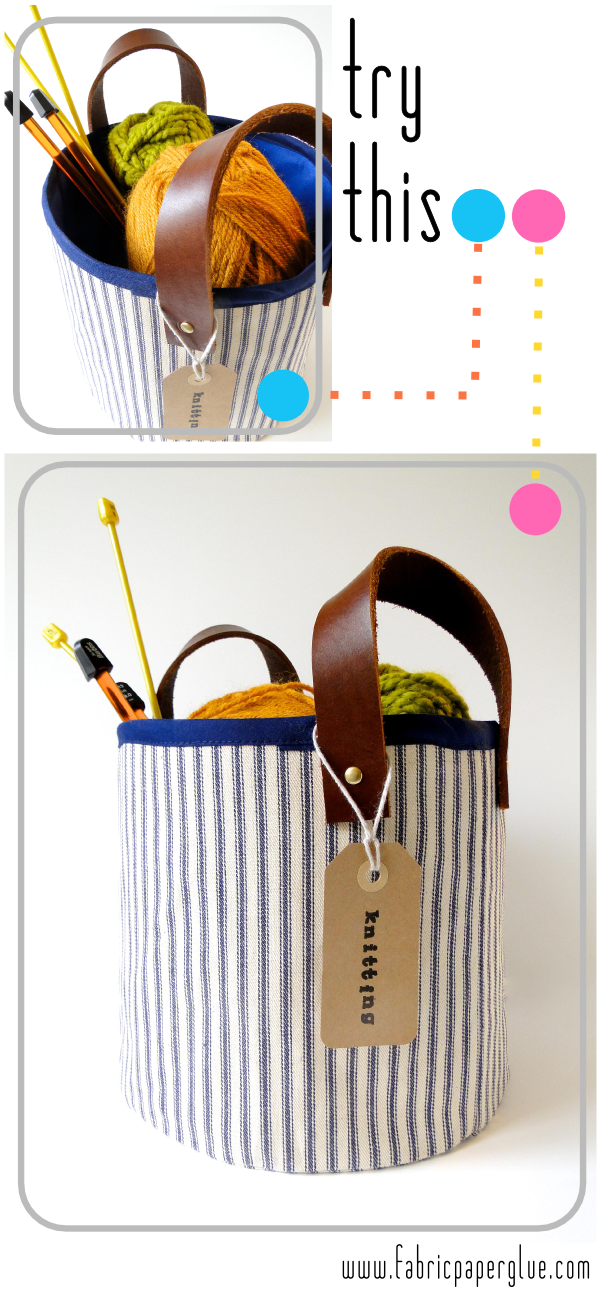
Try This: Fabric + Leather Storage Baskets
This shouldn't come as a surprise to anyone, but I have a lot of craft supplies, and worse still, the ratio of livable space to craft supplies is abysmal (or glorious -- depending on who you ask in our home). So I have to keep things organized. I employ a dual organization system of-sorts -- by technique/material for the long-term and by specific project for the short-term. So, I love myself a project basket -- a natty, pretty little way to wrangle all the supplies I need for a particular project. This, my friends, is a quick and easy step-by-step for creating project baskets of your own, and I do mean quick and easy. I was able to churn out a couple of these in less than an hour -- tutorial photos and all!
Read on for the full tutorial.
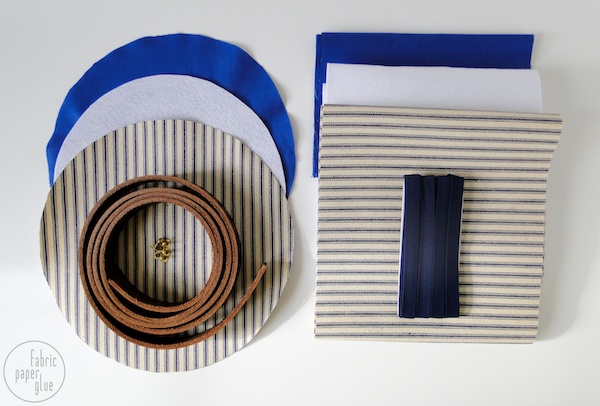
MATERIALS: Heavy Duty Ticking Fabric, Heavyweight Sew-In Interfacing, Quilting Cotton, Double Fold Bias Tape, Thread, Sewing Machine, 22" of 1" Leather Strapping, Hole Punch, (4) Small Rivets, Rivet Setting Tool, Hammer
Before we jump in, let's cut this fabric up, shall we?
Bottom: To make the circles for the bottom of the basket, I traced a 9.5" plate onto my fabrics and the interfacing. For each basket, you'll need one circle of each of the three materials. Cut the circle of interfacing about 3/4" smaller all the way around.
Sides: For the sides of the basket, cut one continuous rectangle of the two fabrics 8" wide and the interfacing about 7.25" wide. The length will depend on the size of your circle, which should be about the circumference of your circle + about 2". The good news is that it doesn't have to be precise...at all.
One more note. This particular fabric is amazingly sturdy. It will practically stand up on its own. If you don't like the look of it, feel free to substitute with a sturdy canvas or compensate with an additional layer of interfacing.
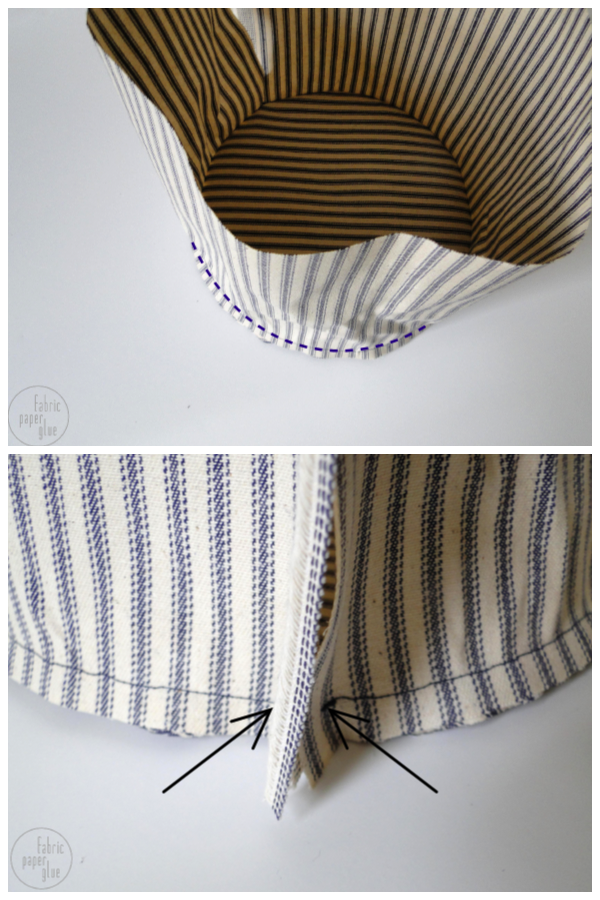
ONE: With right sides facing inward, sew the edge of the cut rectangle to the edge of the circle. Leave a ~1" tail at the beginning and end (this is why you didn't have to get a precise circumference measurement). Super important: the stitch should begin and end at the exact same point. See my arrows above? Those are pointing to this spot. Be sure to leave the "tails" loose, and don't overlap them.
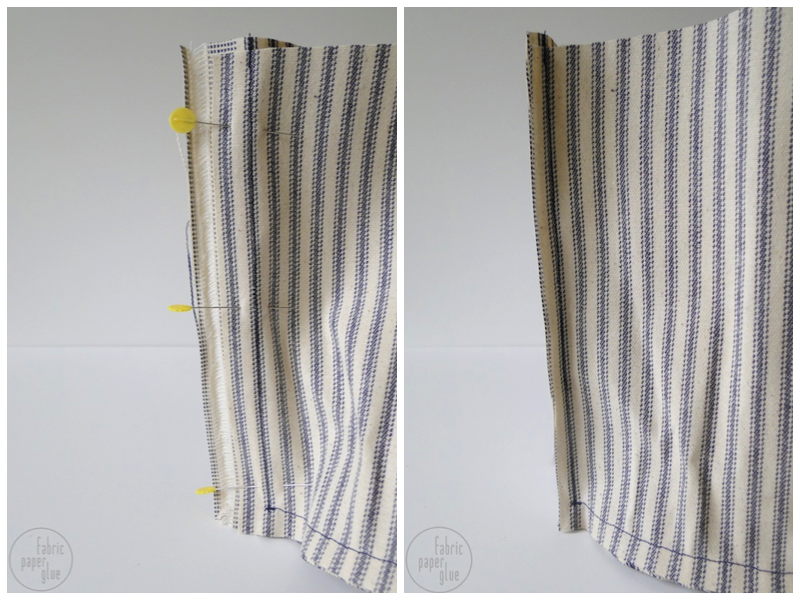
TWO: Pin the "tails" together. Beginning at that beginning/end point in the previous step, sew the tails together and trim. Repeat these exact same steps with the lining fabric.
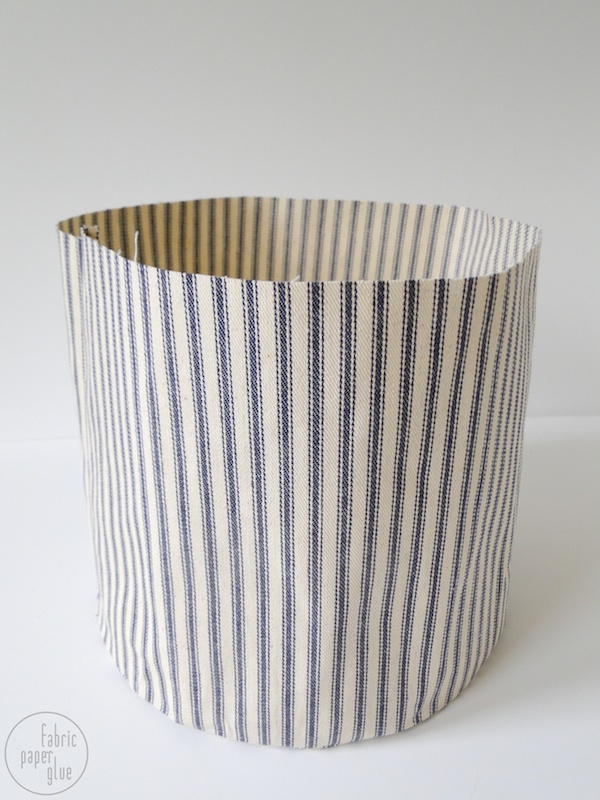
THREE: Turn the shell right-side-out.
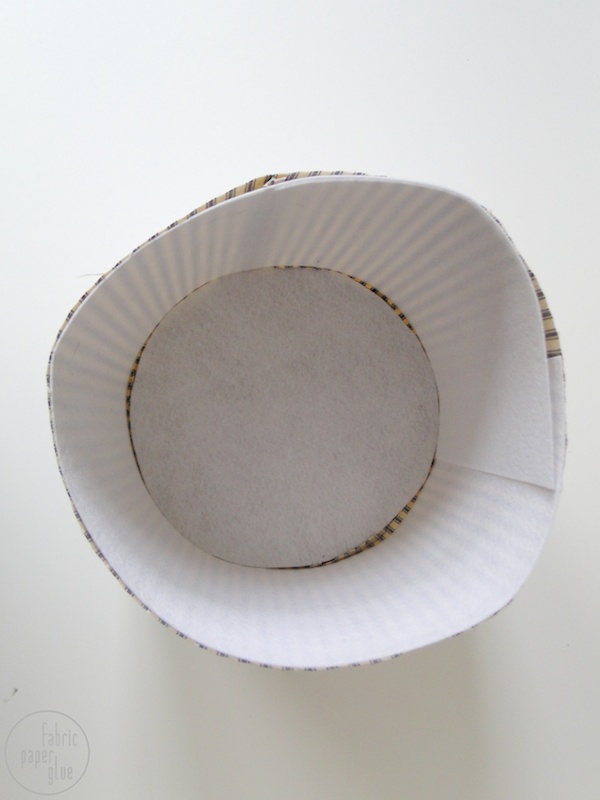
FOUR: Place your interfacing pieces inside of the shell as shown. No sewing necessary, and it really doesn't matter how much the rectangle overlaps with itself. Then, place the lining inside of that, and line up the top edges of the three materials.
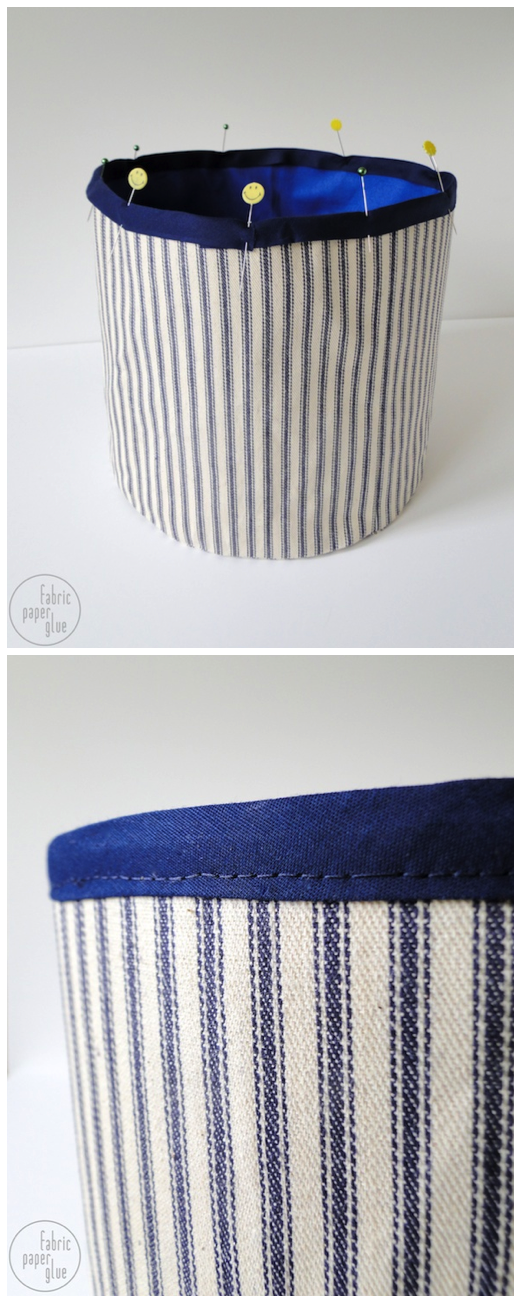
FIVE: Encase the top edge in double fold bias tape. Pin and then stitch in place.
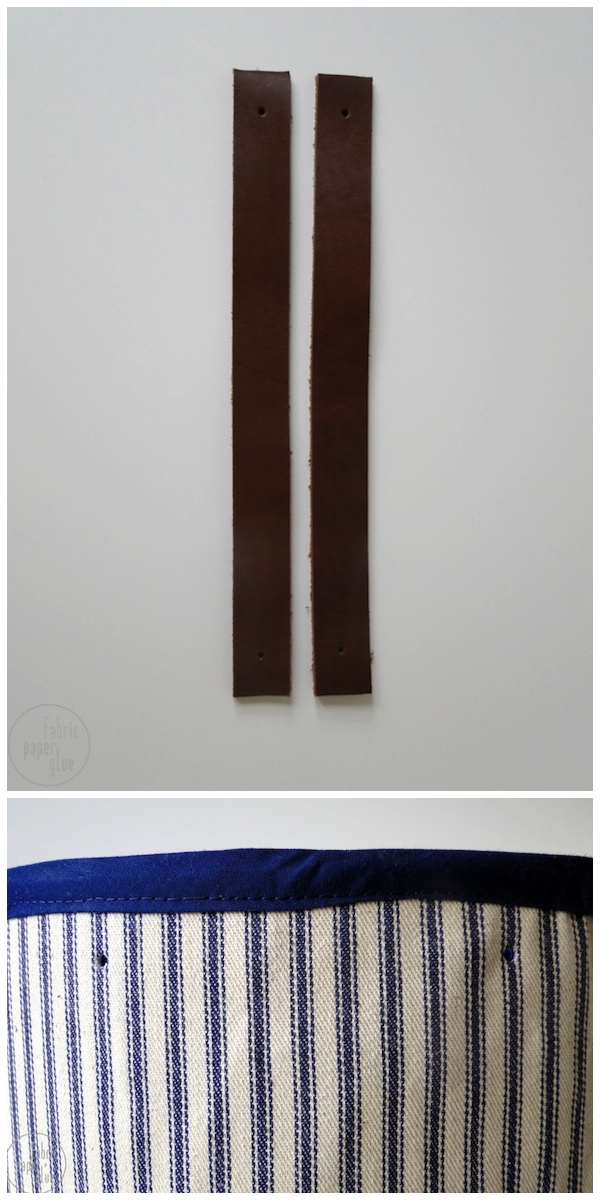
SIX: Cut two 11" leather straps, and punch one hole large enough for your rivet about 3/4" from each end of your two straps. Punch two pairs of holes on opposite sides of your finished basket. These should be punched 1" from the top edge and 3.5" apart.

SEVEN: Attach the handles to the basket using the rivets and setter. The rivets that you use should only be about as long as the thickness of the fabric + straps together. Install the rivets according to the directions with your installation kit. This video is a really helpful 101 to setting rivets. They are super easy to install and only take about 2 to 3 whacks of the hammer each.
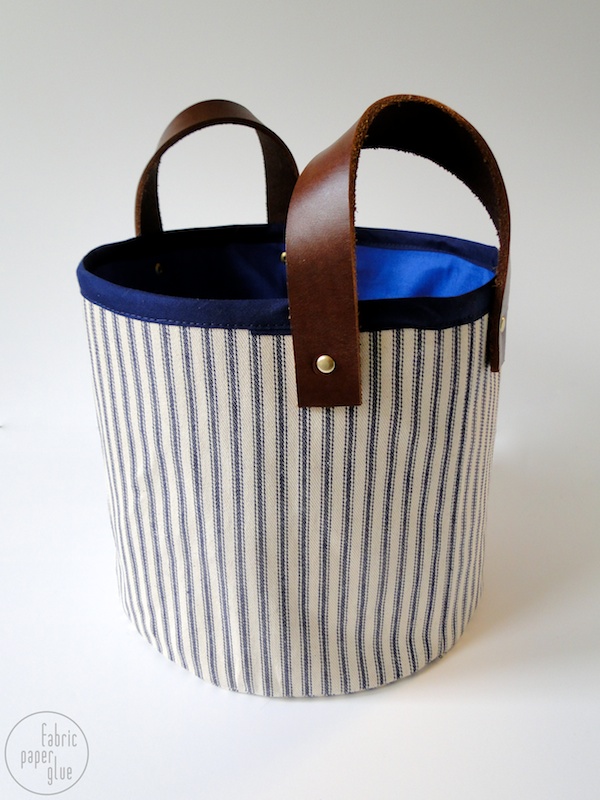
Now, you're done! Honestly, it sounds harder than it is, and I would definitely consider this a beginners-level sewing project. If you want to label your baskets, add a little tag with a stamped label and fill them with all your supplies or any ole thing you want to stow away.
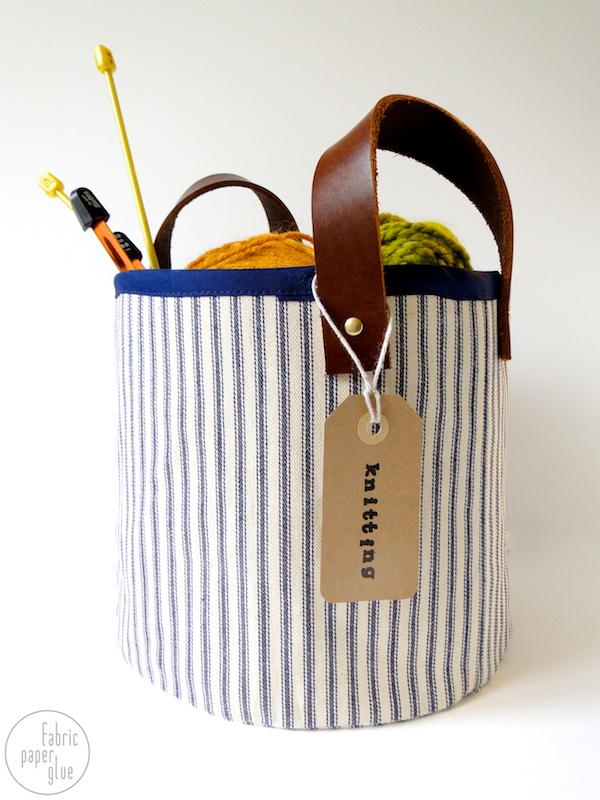
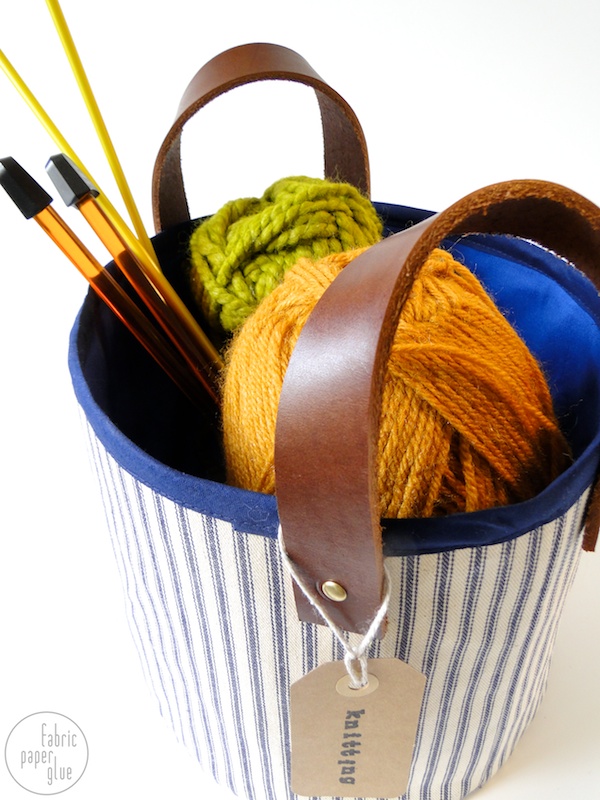
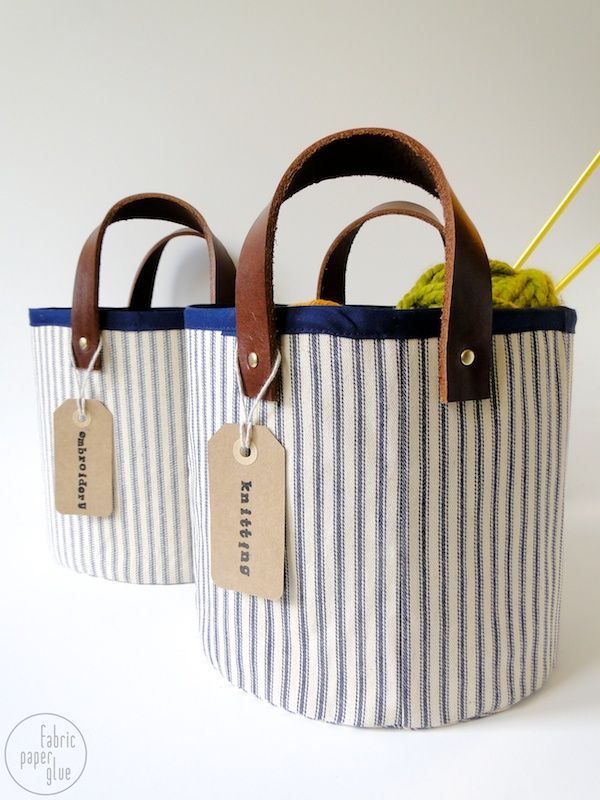
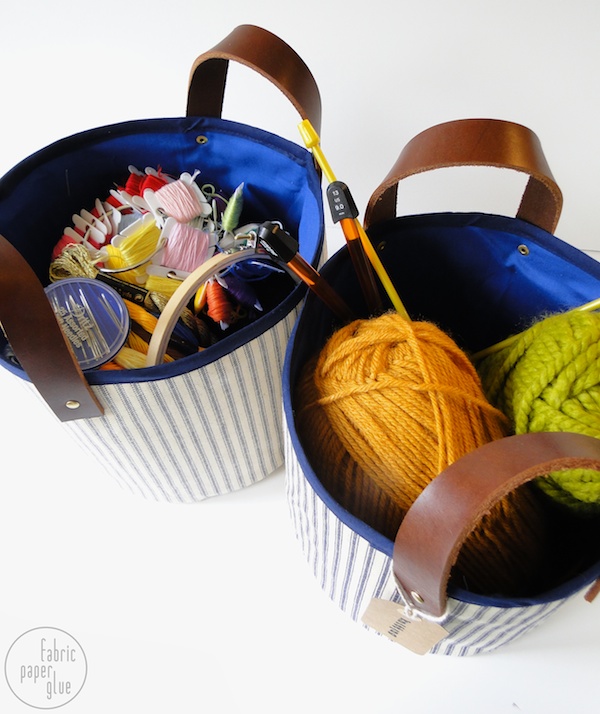
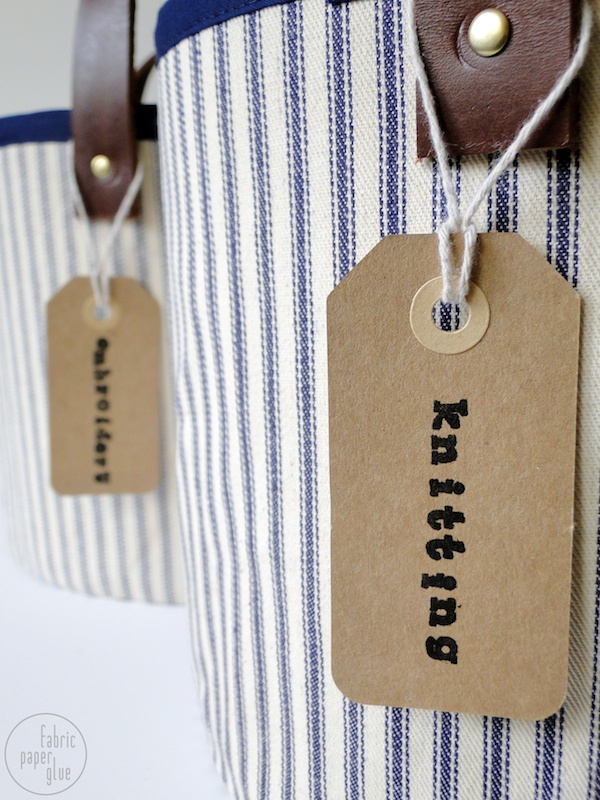
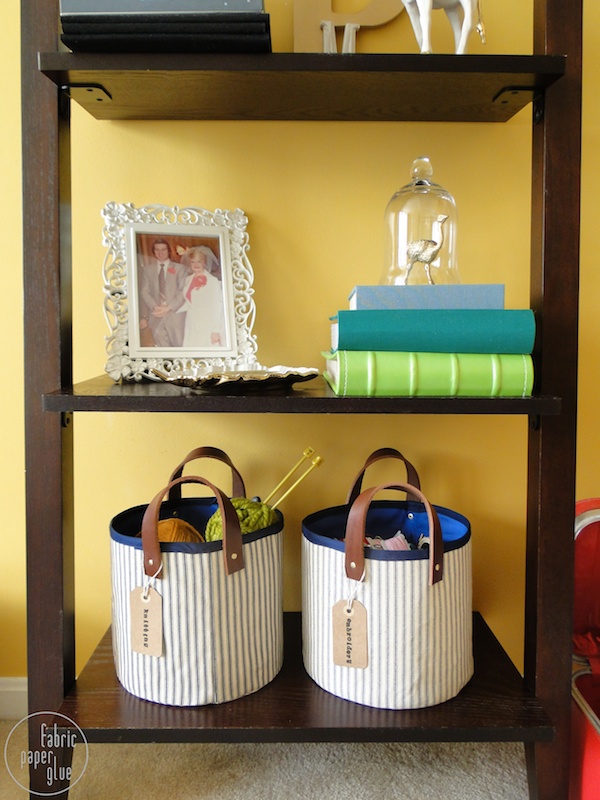
And look at that. They're pretty enough to put on display!

find me elsewhere
If you've ever given one of my tutorials or cocktails a try or you've just been inspired by something you've seen here on Fabric Paper Glue, be sure to share a photo. I'd love to feature it!

Too adorable! And with the fabric you've chosen, these little 'baskets' would be perfect favor bags for a nautical themed wedding!
ReplyDeleteThey do sort of have a nautical look, don't they? What a great idea!
DeleteSu cute, Mindy! Mind me asking, where do you buy your leather? Locally, or do you have a good place online? Hugs! Audrey - This Little Street
ReplyDeleteHi, Audrey. I don't mind you asking at all. I order my leather straps from http://www.zackwhite.com/. I ordered about $80 worth of 1" black and tan straps about 8 months ago, and they've lasted me through so many projects. For this project, I actually cut them in half down the middle to get 1/2" wide straps. You can also order them from Tandy Leather, which is a huge leather supplier.
DeleteThese look amazing! Love the fabric choice.
ReplyDeletethank you for shareing, very nice idea!
ReplyDeleteVery nice idea! I love the stripy fabric. Thanks for sharing this tutorial! :-)
ReplyDeleteThis is beautiful. I made square fabric baskets before, but now I want to try a round one, too.
ReplyDeleteI really like this project and look forward to making some. Could you be a little more specific about the leather strapping? I went to the website you suggested and wasn't sure which item specifically it was. I was looking for the leather strapping, could it possibly be called something else? Thanks in advance !!!
ReplyDeleteSure, no problem! They're the 1" vegetable dyed leather strips in medium brown, which are available here.
DeleteLove this idea. WIsh I sewed. I bought this ticking fabric and made a table runner out of it . If I paid you would you make me one ?
ReplyDeleteGlad you like it! I'm not taking on custom projects right now. Maybe this is the impetus for a sewing class :). It's a super easy sewing project!
DeleteThis is very pretty indeed and not only can it be used as storage solutions but it will also make a great gift idea too. When you travel, you will definitely buy souvenirs for your loved ones back at home. Before giving it to them, you can place them inside these leather storage buckets. It will be more meaningful and personal as it is a customized idea and comes from the heart. People can also reuse the buckets for their own needs.
ReplyDelete