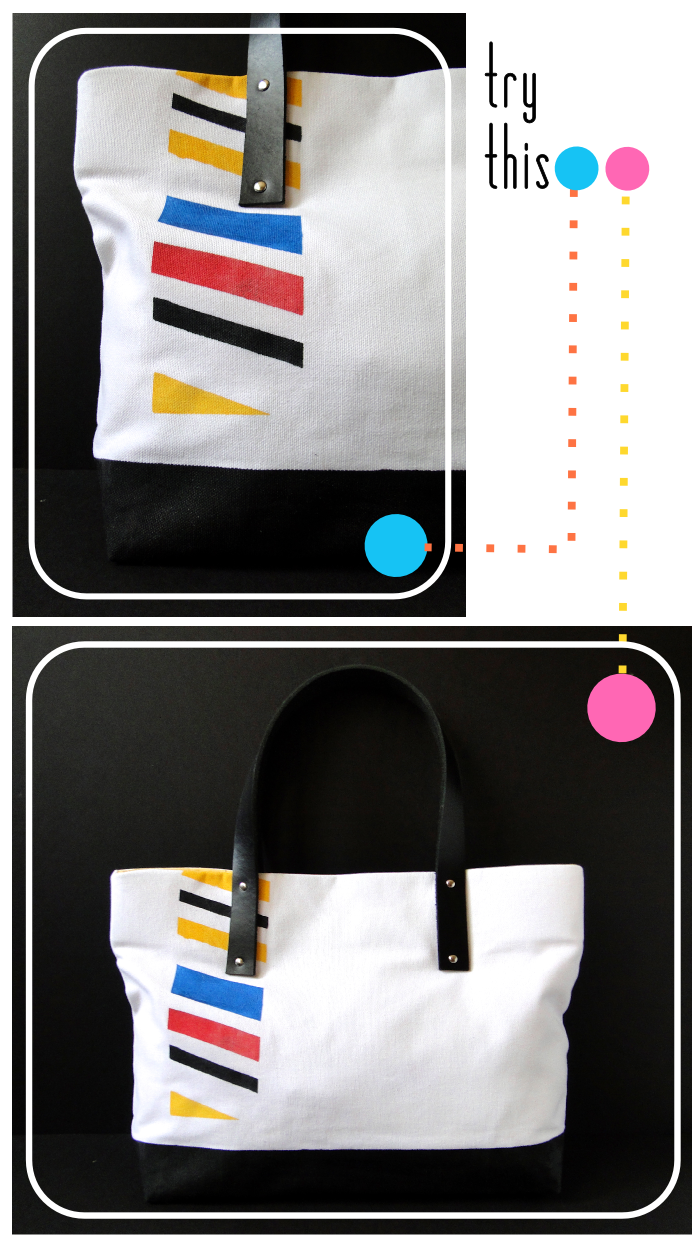
Try This: Plastidipped Tote Bag
So...Plasti-Dip. It's a rubberized coating -- generally for tool handles -- to make surfaces slip resistant and waterproof. If you've been on the DIY circuit long, there's no doubt that you've seen people finding clever and crafty uses for this stuff. Some of my favorites including dipping flatware, stool legs, toothbrushes, and an assortment of random things.
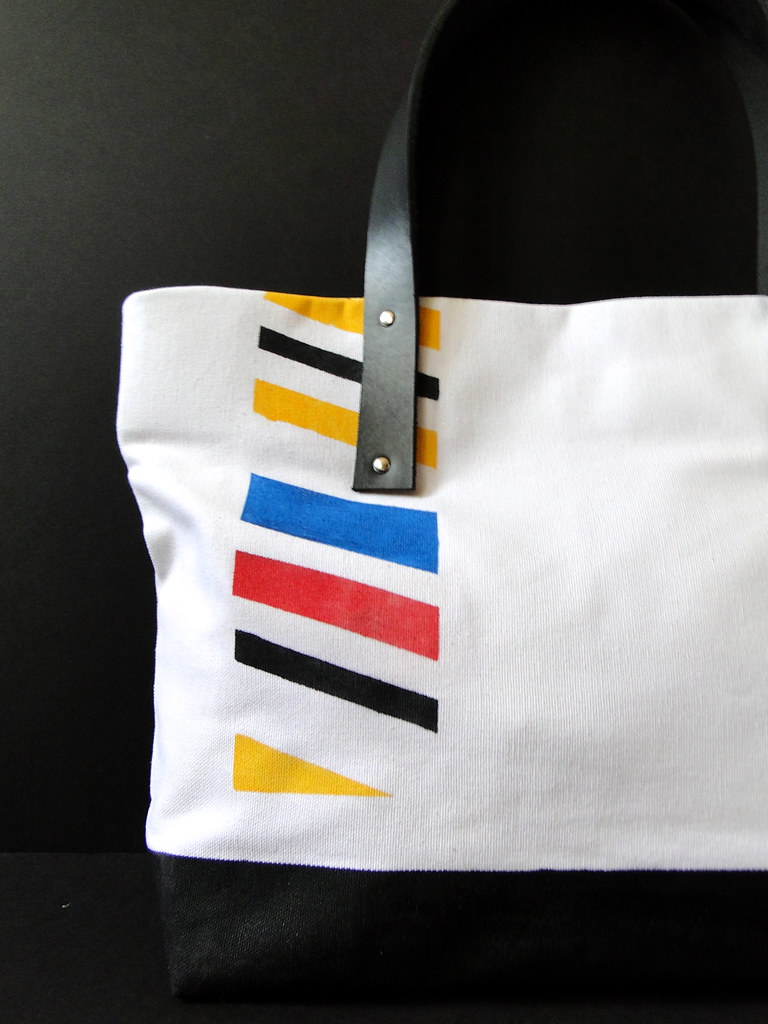
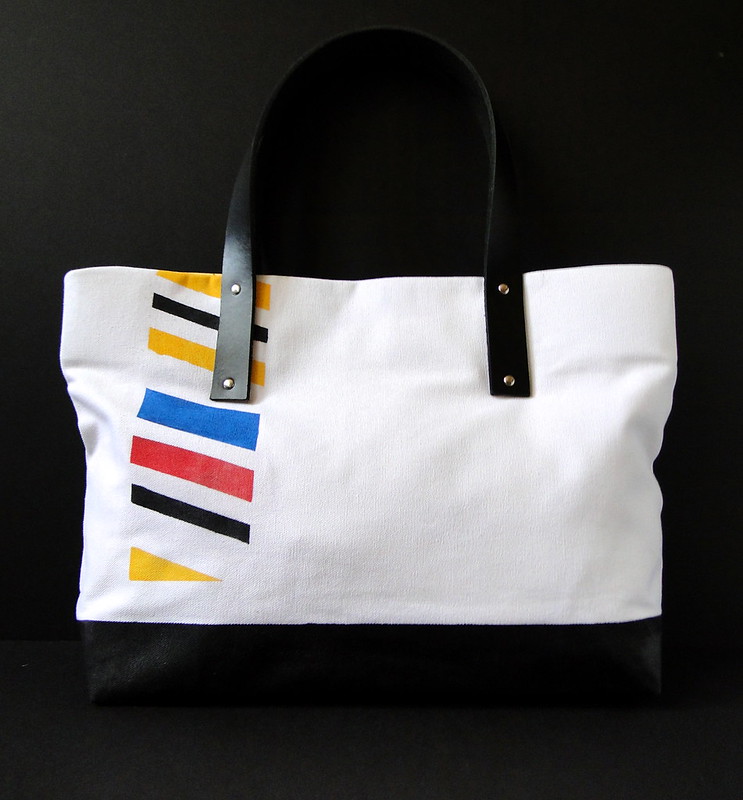
I ordered myself some quite a while ago, sitting on it, waiting for the perfect idea to strike . Finally, I did a little test run on fabric, and you know what, I think I might be onto something. In this tutorial, I show you how to add a moisture-proof bottom and some decorative details to a basic tote bag. Alright, let's do this.
Read on for the full tutorial.
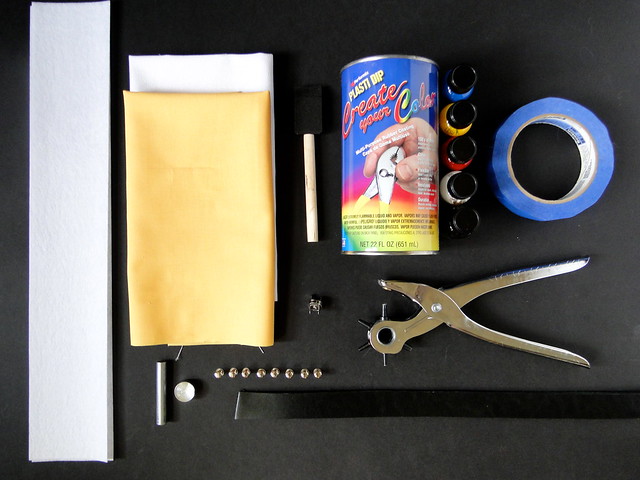
Materials: Plastidip Create Your Color Kit , Painters Tape, Sponge Brush(es), (2) 18" Leather Straps, (6) Rivets + Setting Tool
 , (1) Magnetic Snap Closure, (2) 3" x 15" cuts of Heavyweight Sew-In Stabilizer, (2) 12" x 18" cuts of White Canvas, (2) 12" x 18" cuts of Cotton Lining Fabric
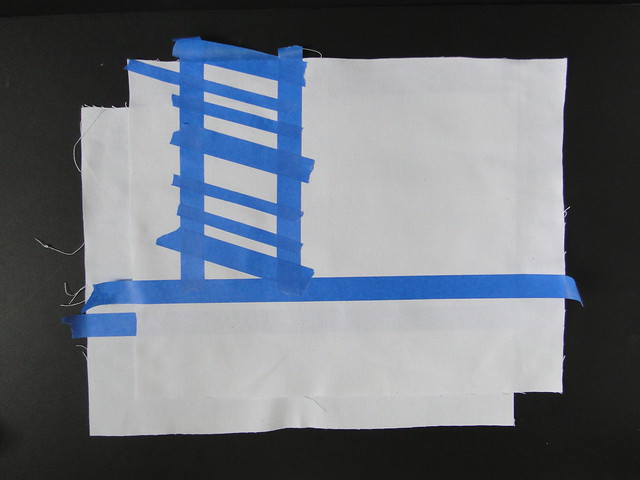
One: Begin by taping off the two cuts of white canvas. I wanted my bag wider than it is deep, so I treated the 18" sides as the top/bottom of the bag. I taped off 4" from the bottom on both cuts of canvas, and taped off a decorative strip of diagonal lines on what would become the front of the bag.
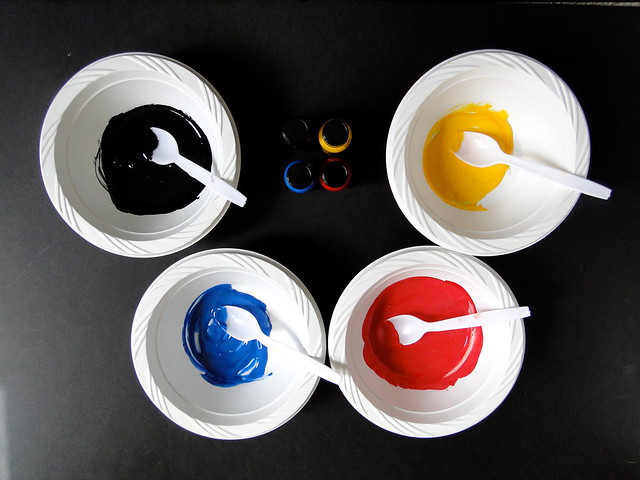
Two: Mix up the colors that you want to use in a set of disposable bowls. This step is easy. It's as simple as pouring some of the Plasti-Dip base into the bowl and adding some drops of the tints included in the kit. Make sure you're in a well ventilated area, because this stuff has some serious fumage. You won't need much of the colors you'll use for the accent, but mix up a decent little batch of the black for the bottom.
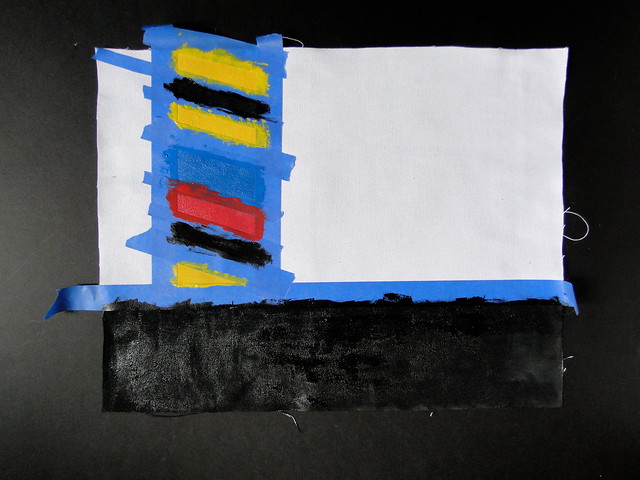
Three: Paint the sections in using a sponge brush. You'll want to do it fairly quickly because it starts to get thick as it dries. Especially on the larger areas, try to ensure that you're doing a nice even, but relatively thick coat the first time. You can't really go back and do a second coat without messing up the texture.
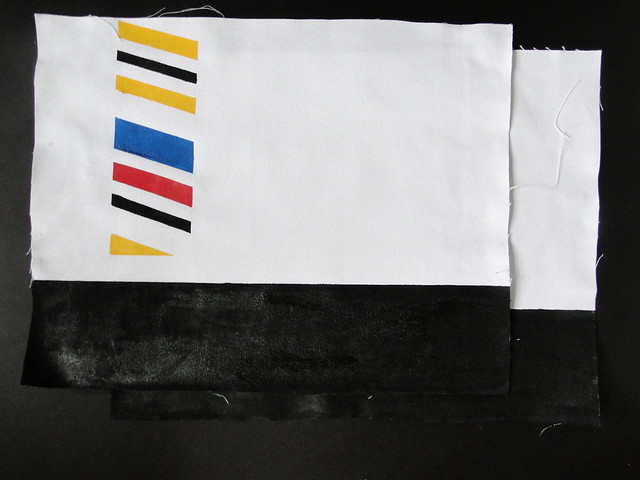
Four: After a few minutes, peel the tape away.
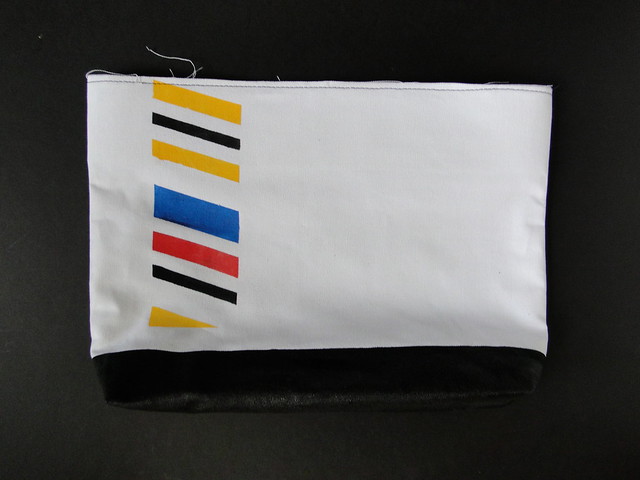
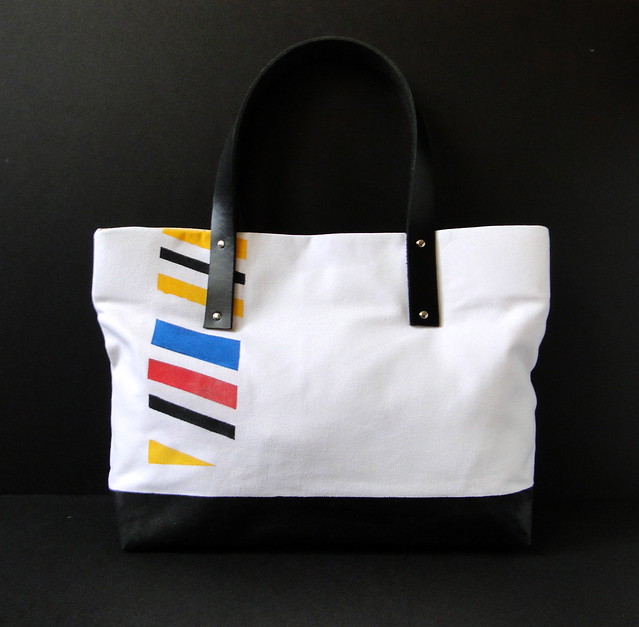
Five: Now construct a basic tote bag with leather handles using the technique from this tutorial. You'll skip the steps for the grommets and leather tassels. For the bag shown, I placed the holes for the rivets 1/2" and 3" from the end of each handle/top of the bag and 4" from each side of the bag.
Now, enjoy your new tote bag complete with waterproof bottom! If you do give this tutorial a try, please be sure and share a picture through the "Share Your Projects" link at the top of the blog page. I'd love to feature some!
Can you think of any clever uses for Plasti-Dip?

find me elsewhere

very nice! like the colors
ReplyDeleteYou never cease to amaze me! That bag is so great!
ReplyDeleteI love this! It makes the bottom of the bag look kind of like leather. I want to dip the entire bottom half of the blank canvas bags aisle at Hobby Lobby in Plasti-Dip now.
ReplyDeleteWere the Plasti-Dipped parts of the bag difficult to sew through?
Nope! Fairly easy. I would say it was about like sewing through vinyl, for example.
DeleteNice blog with awesome stuff!! Can you provide more information?? We are in fact waiting for you…
ReplyDeleteis bubblegum casting legitimate
Awesome project! Could we feature your pictures on our website and social media next month!?
ReplyDelete