
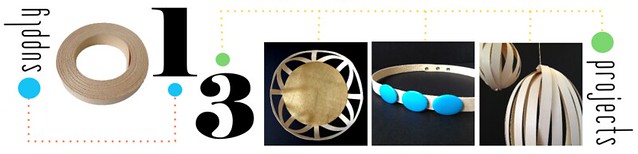
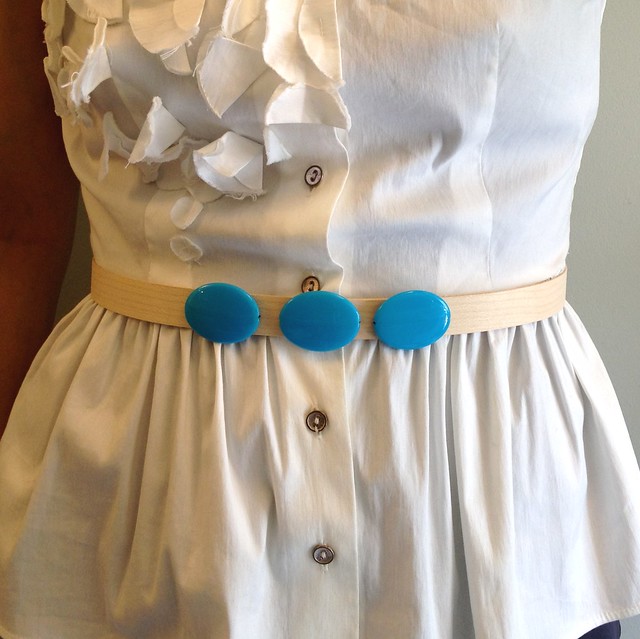
In this iteration of 1 Supply: 3 Projects, we're finding 3 creative uses for wood veneer edging. This week, we're making veneer fashionable by making a pretty freakin' adorable little wood + turquoise belt.
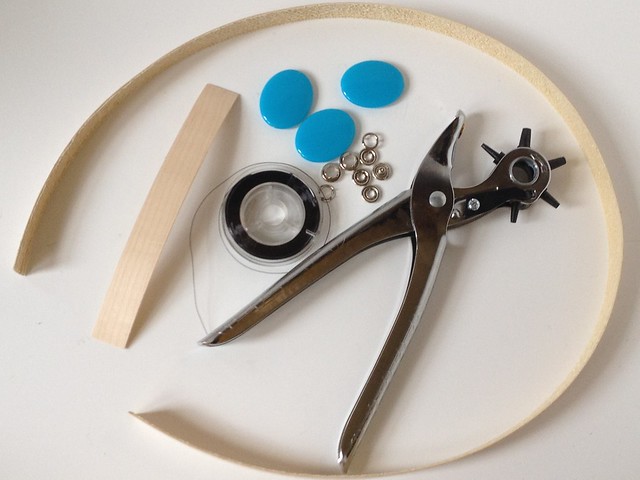
Materials: 3 Large Colorful Beads (mine are about 1.75" wide), 3 Snaps, Beading Line, Hole Punch, 6" Veneer Strip, and a Veneer Strip 4" longer than your waist

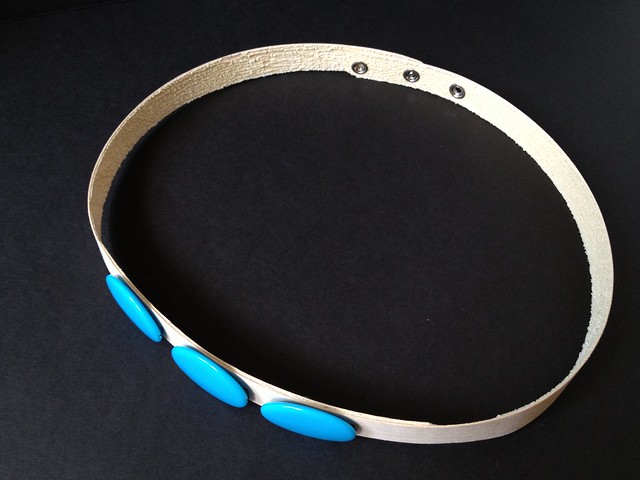
Directions: At one end of the long veneer strip, mark three positions for your snap ends.

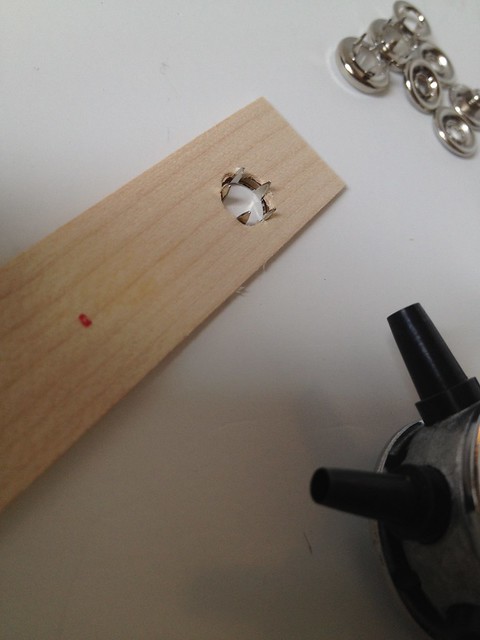
At each mark, punch a hole (or series of holes) just large enough for the snap prongs to fit through. Make sure that the actual snap apparatus (the male and female sides, if you will) are on the inside of the strip.
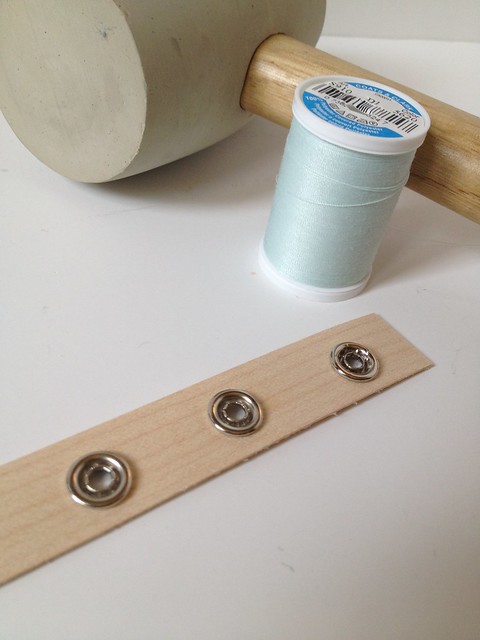
Install the snaps according to the directions on the package.
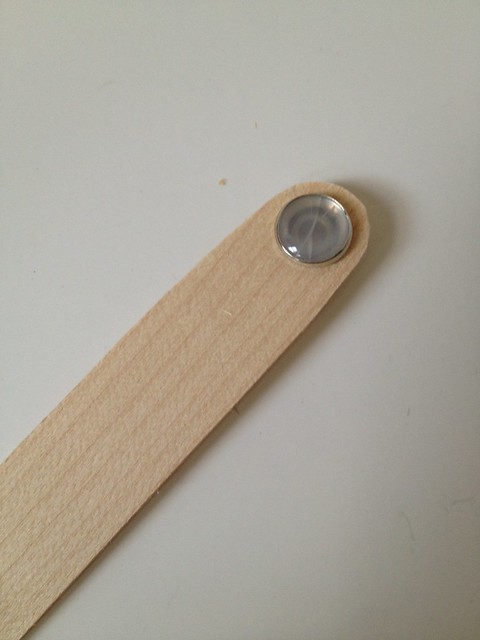
Install the, uh, male end of the snap on the other end of the veneer strip. As you can see, I've never figured out how to install a pearl snap without cracking it. If you can, I say go for it. If you can't, buy the other kind of snaps (as I should have). You can also round off the end of the strip with some scissors just to make it look finished and professional.

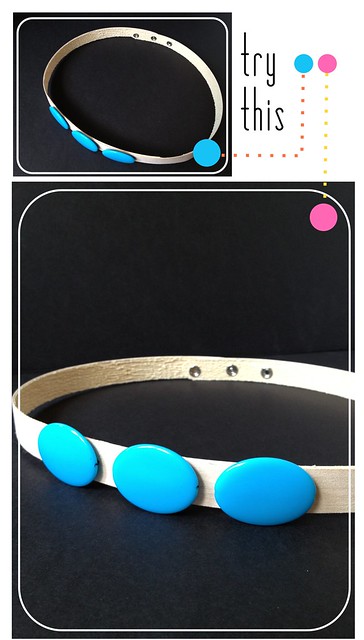
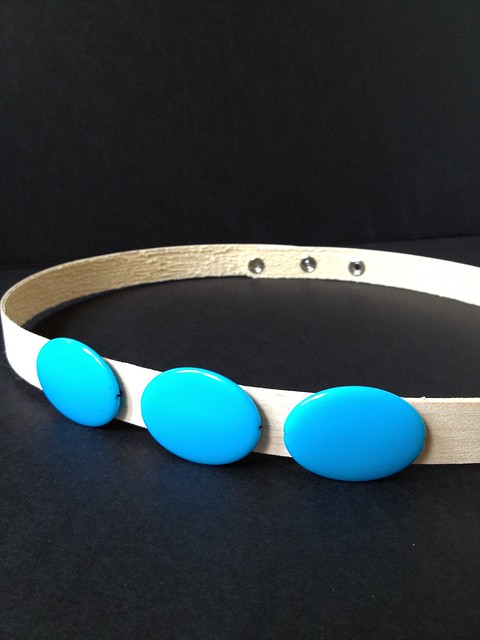
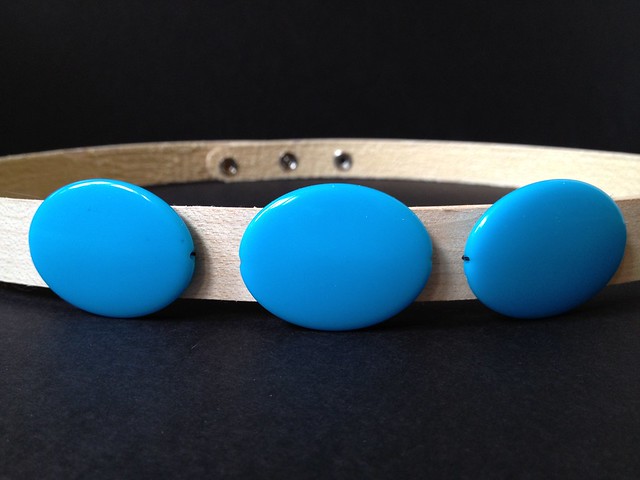
Line up your three beads end to end in the very middle of the belt. Space them out as you like, but place a mark at the edge of each bead. I'd recommend placing the marks just on the inside of each edge so that the bead line will be hidden.

Punch a small hole where you marked.
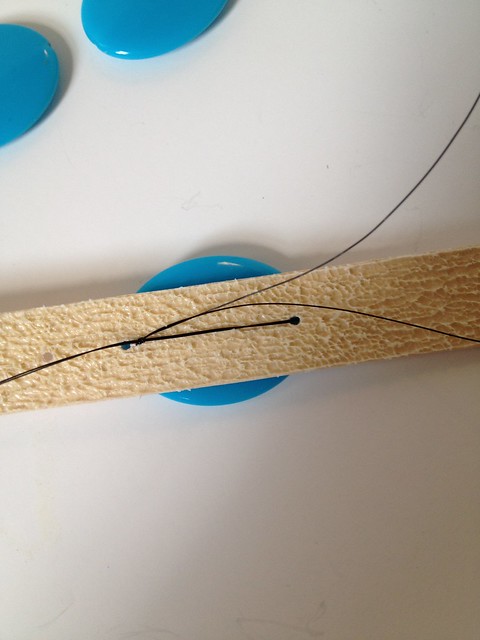

Affix your bead with the bead line by threading it through the holes and tying off on the inside.
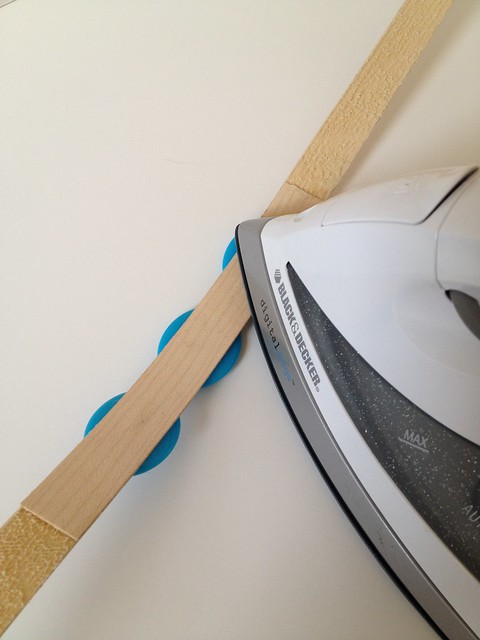
To finish off the back side, iron on the shorter piece of veneer. And that's it, folks! I think it's a pretty easy project and, um, kind of adorable (especially considering this is something you pick up in the lumber aisle)!


find me elsewhere


This is so awesome! Thanks for sharing!
ReplyDelete