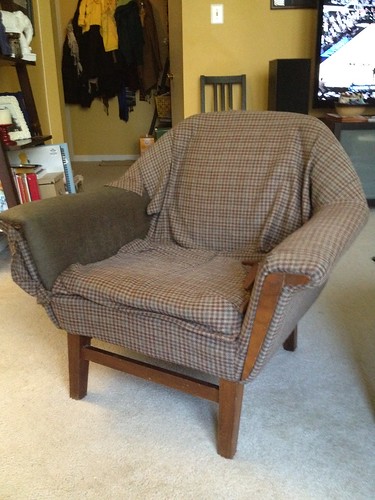
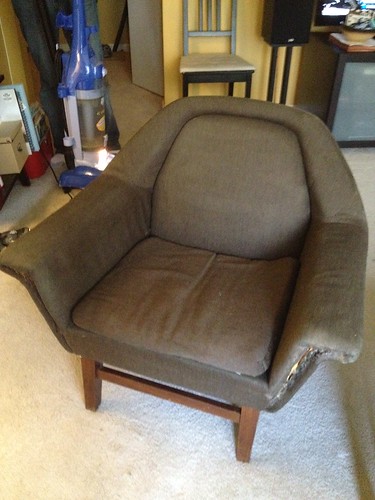
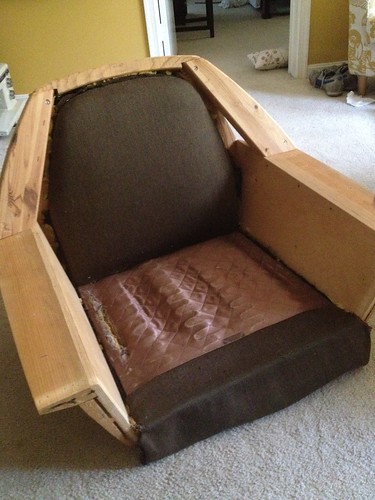
You can read part 1 of this harrowing tale here, but if you're lazy, here's a quick reminder of my various before stages...
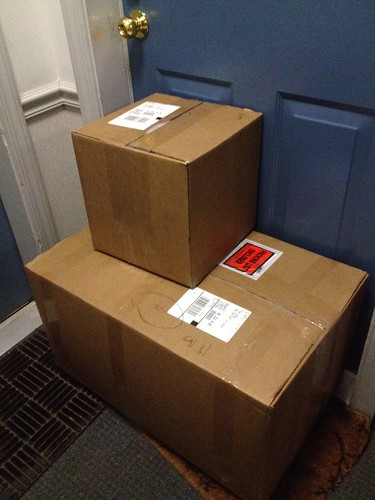
My supplies arrived this week, and I learned that one should never order upholstery supplies when one has been drinking because, yeah, I ended up with WAY too many upholstery supplies.
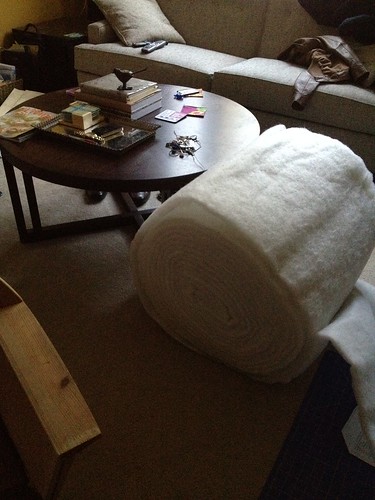
I ordered a roll of batting as big as my coffee table. Oopsie.
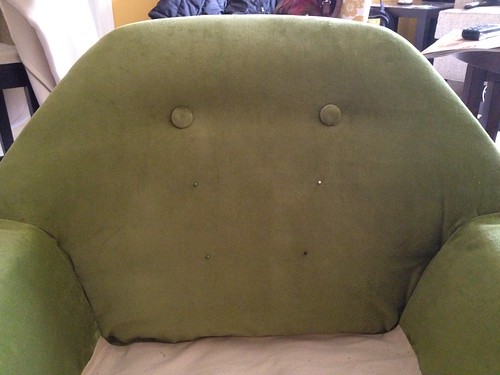
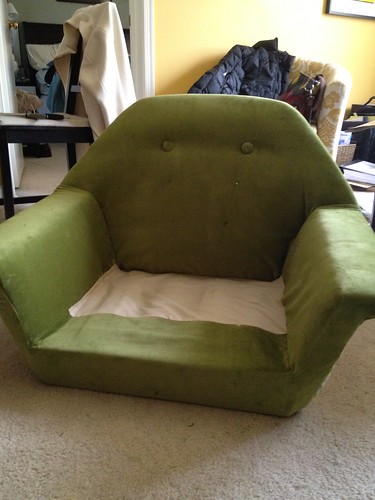
With my supplies all stocked up, I jumped right in using the pattern pieces I'd sketched out on muslin last time. I took zero pictures of my process because they would all be of me like draping and redraping the fabric and figuring out what the heck I was going to do to get the back all smooth and taught without any obvious wrinkles. Anyway, I totally kicked that problem's butt. How? I have no idea. Push, pull, and staple the hell out it, I guess, because check out the tight back on this one...including the beginnings of some fine button detailing.
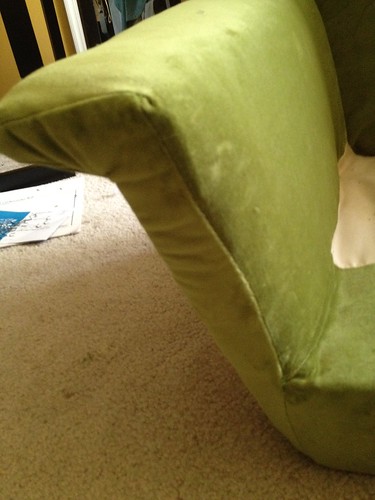
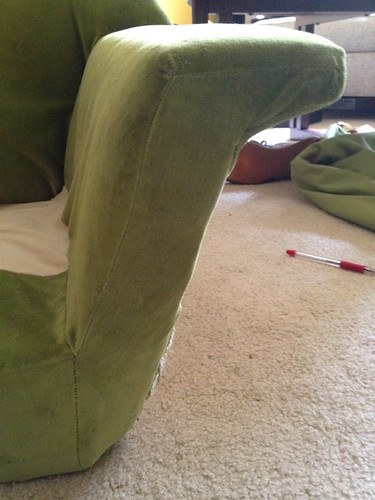
Let's not get too excited, folks. Obviously, spoiler alert on the fabric choice. I went with the apple green velvet, which, by the way, no one called because everyone assumes I'm a pattern fiend (which I am). Anyway, totally regretting my decision. I'd read it before and I should have believed it, but velvet is super difficult to work with. It's thick. There's no give to it, and if you have to take a seam ripper to it, you're toast. So, yeah, an ameteur like me ends up with schloppiness like these beauties:
Yeah, man. It's not pretty, but it's real life. If you recall from the before photos, these chairs had a wood detailing on the arms. Those pieces were predicated on a pretty complicated covering configuration, but I'm going to see what I can do to use those bad boys to my advantage to distract the untrained eye from my sad, sad lack of skills. At this point, it's not the prettiest thing I've ever seen, but it's also not a total disaster.
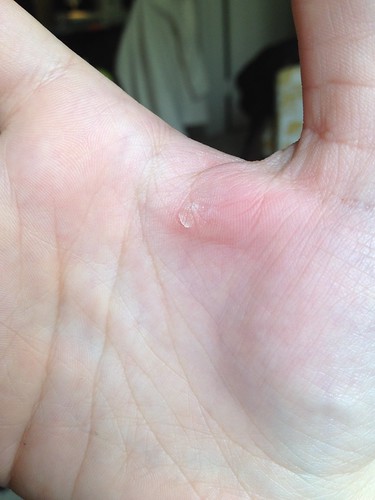
Plus, I have these sweet battle scars that come with using a manual staple gun. Jealous?
So, the front's basically done -- except for figuring out some kind of rescue for those arm fronts. Next up is the back and the cushion. Now, please, shower me with words of encouragement and false praise. Go.
find me elsewhere



woah! and i'm not just saying this, but i think it looks really good!! once you get the seat cushion in and the other buttons on, it'll be great. (bonus points for the wood arm detailing)
ReplyDeletethen you can make a patterned throw pillow to either 1. liven it up or 2. cover any mistakes. not that there will be mistakes.
also, i have a manual staple gun too. i feel your pain.
Thank you! Yes, throw pillows and the like will be my friend to cover mistakes. Or I could just give it to Goodwill when I'm done and call it a $200 learning experience!
Deletelooking good, speaks
ReplyDeleteI am super impressed. Well done.
ReplyDeleteThanks, Sarah!
Delete